How to Get an ADU Approved: A Step-by-Step Guide
Find out how to get ADU approved with clear steps, tips, and expert advice for a smooth approval process on your property.
|
March 10, 2026

In this article:
The path to building an ADU is often paved with good intentions, but it can easily get stuck in the mud of bureaucracy. Many homeowners dive into design only to hit a wall with zoning rules or submit an application with small but critical errors, causing long and frustrating delays. These common hurdles are almost always avoidable with a bit of foresight. Knowing how to get your ADU approved isn’t just about following the rules; it’s about anticipating the challenges before they happen. This guide will show you how to sidestep the most common mistakes, from choosing the right contractor to preparing a flawless permit application.
Key Takeaways
- Start with the rules, not the floor plan: Before you get lost in design ideas, confirm your eligibility and get familiar with your local zoning laws. Understanding the specific requirements for setbacks, size limits, and property lines from the very beginning will save you from costly redesigns and major headaches later on.
- Design for a smooth approval: Your city wants to see a thoughtful plan that complements your main home and neighborhood. Focus on creating a cohesive look with similar materials and colors, respect the size and scale limitations, and present a clear, professional set of plans. A well-considered design is your best tool for getting a quick green light.
- Build your team and communicate openly: The approval process is much easier with the right support. Work with experienced professionals who know your local codes, treat the planning department as a resource, and talk to your neighbors early on. A proactive, collaborative approach helps you overcome challenges and keep your project on track.
First Things First: Are You Eligible to Build an ADU?
Before you start dreaming up floor plans and paint colors, it’s smart to confirm you can actually build an ADU on your property. The rules can feel a bit tricky, but they generally come down to three things: who you are, where your property is, and what local regulations apply. Getting a clear picture of your eligibility from the start will save you a ton of time and potential headaches down the road. Let’s walk through the key requirements to see if your project can get the green light.
Who can build: Ownership and occupancy rules
First up, you must legally own the property where you plan to build. This is a non-negotiable starting point for any ADU project. In many areas, there’s also an occupancy rule, meaning the property needs to be your primary residence. While some regulations have become more flexible on this point, it’s a common requirement you’ll want to verify. Think of it as the city wanting to ensure homeowners are adding responsible density to their own neighborhoods. Checking these ownership rules is a simple but critical first step in the process.
Where you can build: Lot size and zoning
Next, it’s time to look at your property’s specifics. Every city and county has its own set of rules, so what works for a friend in another town might not apply to you. You’ll need to check your local zoning regulations to see if ADUs are permitted on your lot. For example, your property might need to be in a specific residential zone, like an R-2 Single- and Two-Family District. These rules also dictate things like minimum lot size, so it’s important to confirm your property meets the local criteria before you get too far into planning.
Clearing up common eligibility myths
There are a few common myths about ADUs that can cause confusion. One big one is that they’re only for generating rental income. While renting out your ADU is a great option, you can also use it as a guest house, a home for family members, or even a personal office or studio. Another misconception is that the building process is overwhelmingly complex. While any construction project has its challenges, modern design techniques and pre-approved plans can make the process much more manageable than you might think, especially with the right team guiding you.
Zoning 101: What Rules Apply to Your ADU?
Think of zoning as your city’s rulebook for building. It might sound intimidating, but it’s really just a set of guidelines to ensure new projects fit well within the neighborhood and community. For your ADU, this means paying close attention to a few key details that will determine if your plans get a green light from the city. Getting familiar with your local zoning code is one of the first and most important steps in the process, as these rules cover everything from how close you can build to your fence to how tall your ADU can be.
Fortunately, many cities, especially in California, have recognized the need for more housing and have updated their zoning laws to be much more ADU-friendly. While every city has its own specific requirements, state laws often provide a baseline that local governments must follow. This is great news for homeowners, as it has streamlined the approval process and removed many of the old barriers that used to stop projects before they even started. Still, it can be a lot to sort through on your own. A dedicated project advisor can help you make sense of these local and state regulations, but it’s always helpful to understand the basics yourself. Let’s walk through the three big ones you need to know: setbacks, size limits, and parking rules.
How far back? Understanding setbacks
"Setbacks" is the official term for the amount of space you must leave between your ADU and your property lines. It’s essentially a buffer zone, ensuring you aren’t building right on top of your neighbor’s fence. While the exact distance varies, California state law often allows for setbacks as small as four feet from the side and rear property lines for new construction ADUs. This rule helps with privacy, fire safety, and allows for access around the building. Before you get too far into designing your ADU, you’ll need to confirm the specific setback requirements with your local planning department, as they have the final say.
How big can you build? Height and size limits
Your city will also have rules about the maximum size and height of your ADU. The main idea is that an accessory dwelling should be smaller than the primary home on the lot. In California, for example, state law allows you to build an ADU of at least 850 square feet, though many cities permit larger units up to 1,200 square feet. There are also height restrictions, which are typically around 16 feet for a single-story detached ADU, but can be higher in some cases. These limits ensure new ADUs are a good fit for the existing neighborhood character and don’t overshadow the main house.
Parking spots and property density rules
The question of parking used to be a major roadblock for ADU projects, but things have gotten much easier. In many cases, you don't need to add an extra parking spot for your ADU, especially if your property is located near public transit or in a historic district. State laws have significantly relaxed these requirements to encourage more housing. These regulations also touch on property density, which is simply about how many homes are on a single lot. Adding an ADU technically increases your property’s density, and zoning codes are there to manage this growth thoughtfully. It's still wise to check your local rules, but parking is rarely a dealbreaker anymore.
Applying for Your ADU Permit: A Step-by-Step Guide
Once your ADU design is ready, the next major step is getting your building permit. This part of the process can feel intimidating, with its forms, fees, and city reviews. But think of it as a final check to ensure your new space is safe, compliant, and built to last. The key is to be organized and proactive. By breaking the application process down into manageable steps, you can move through it smoothly and with confidence. Having a clear roadmap and the right support makes all the difference in getting that stamp of approval without unnecessary headaches.
Gather your documents and plans
Before you can submit anything, you need to get all your paperwork in order. Your city’s planning department will need a complete package to review your project. This typically includes a detailed application form, architectural plans for the ADU, a site map showing its exact location on your property, and proof that you own the property, like a copy of your deed. Being thorough at this stage is your best strategy. Missing documents or incomplete information are the most common reasons for delays, so double-check everything before you move forward. A dedicated project advisor can be a huge help in making sure you have everything you need.
Submit your drawings and site maps
This is where your vision really starts to take shape for the city reviewers. You’ll need to submit detailed drawings that go beyond a simple floor plan. These often include elevations (what the ADU looks like from each side), color pictures or renderings, a list of material details, and sometimes even a landscape plan. The goal is to give the planning department a crystal-clear picture of what you intend to build. This helps them confirm that your project meets all local building codes and design standards. Working with an experienced architect or designer from a vetted professional network ensures your plans are clear, accurate, and ready for submission.
Work with your local planning department
Here’s a pro tip: don’t think of the planning department as an obstacle. They are an essential resource. Before you even finalize your plans, it’s a great idea to call or visit your local planning department. They can help you understand all the specific rules and requirements for your property. Building a positive relationship with the staff can make the entire process smoother. Ask questions, listen to their feedback, and be prepared to make adjustments. This proactive communication can save you from costly revisions and long delays down the road. For example, the Los Angeles Department of City Planning has extensive resources online for homeowners.
Understand permit fees and payment schedules
Applying for a permit isn’t free, and the costs can vary significantly depending on your location and the scope of your project. Permit fees are often calculated based on factors like the ADU’s square footage or the total estimated construction cost. It’s important to ask about the fee structure early in the process so you can include it in your overall budget. Most cities now allow you to pay for and activate your permits online, which simplifies the process. Make sure you understand the payment schedule, as some fees may be due upfront while others are paid at different project milestones. Planning for these costs ahead of time helps you manage your project budget effectively.
Designing an ADU That Gets Approved
Getting your ADU permit isn’t just about checking boxes on a form; it’s also about presenting a thoughtful design. Your local planning department wants to see that your new unit will be a harmonious addition to your property and the surrounding neighborhood. A design that feels out of place or ignores local character is a common reason for delays and denials. This is where careful planning makes all the difference. A well-considered design shows reviewers that you’ve done your homework and respect the community’s aesthetic.
Think of your ADU application as a proposal. You’re not just asking for permission to build; you’re showing officials what you plan to contribute to the neighborhood. When your design is cohesive, properly scaled, and considers the existing environment, it sends a strong message that your project is a positive development. This approach can significantly smooth out the approval process. Working with an experienced team can help you translate your vision into a plan that meets every requirement, ensuring your project gets the green light without unnecessary hurdles. Below, we’ll cover the key design elements that officials focus on during their review.
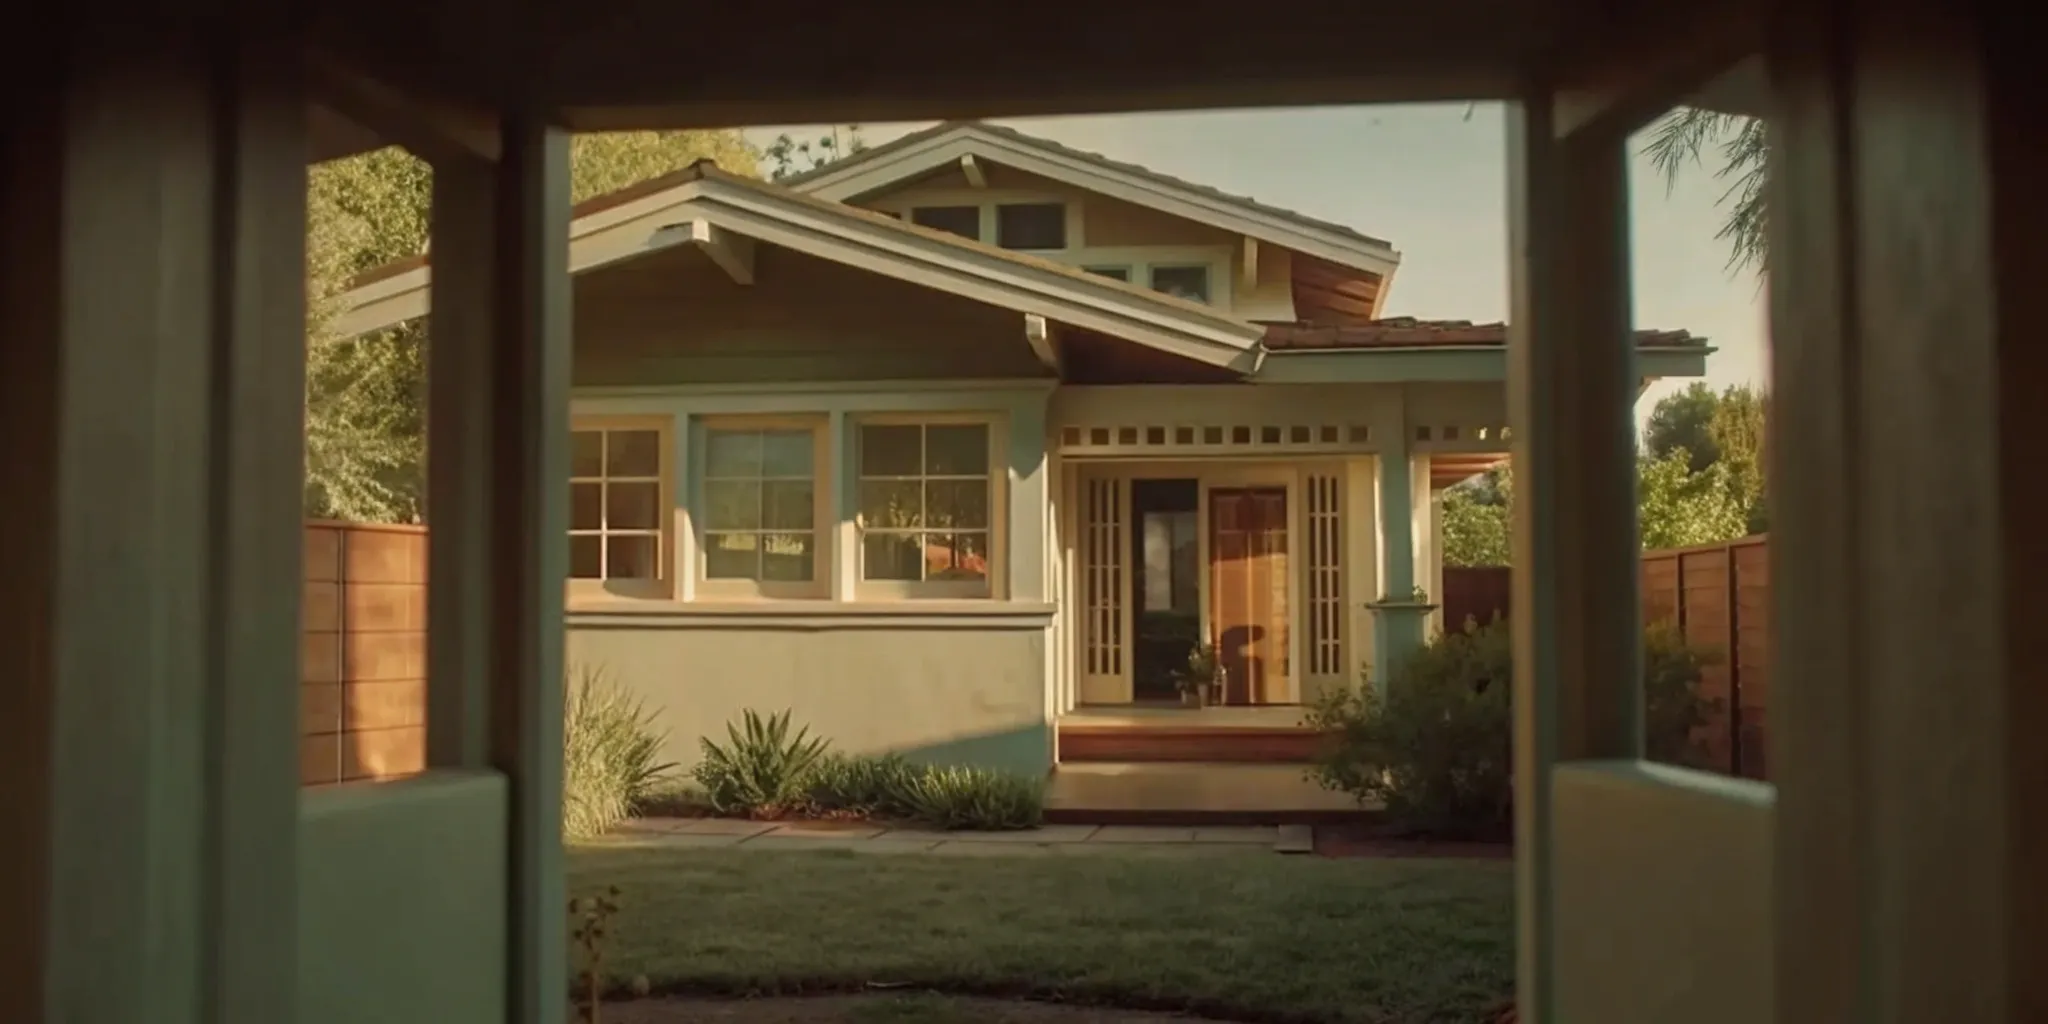
Matching your ADU to your main home
Your ADU doesn’t need to be a miniature replica of your main house, but its architectural style should feel like part of the same family. The goal is to create visual harmony. If your primary home is a classic Craftsman, a stark, ultra-modern ADU might not pass muster with the planning department. Instead, you could incorporate Craftsman elements like similar rooflines, window styles, or porch details into the ADU design. Most city guidelines state that the style of the ADU should match or complement the main house. This ensures that new construction respects the architectural character of the existing property and the neighborhood as a whole.
Choosing the right materials and colors
Following the principle of architectural harmony, the materials and colors you choose are critical for getting your design approved. Using the same or similar exterior materials, such as siding, stucco, or brick, is often the easiest way to create a cohesive look. The same goes for roofing materials and window trim. Your color palette should also complement your main home. This doesn't mean you have to use the exact same paint colors, but the tones should work well together. Local design guidelines frequently specify that "the materials and colors used should match the main house," so be sure to review your city’s rules before making final selections.
Getting the size and scale just right
Proper proportion is key to a successful ADU design. Local ordinances are very specific about how large an ADU can be, both in terms of square footage and its size relative to the main house. As a general rule, an ADU cannot be larger than your primary dwelling. Most jurisdictions cap ADUs at around 800 to 1,000 square feet, or a certain percentage of the main home’s size. Beyond the written rules, think about visual scale. A well-designed ADU shouldn't overwhelm the main house or the backyard. It should feel like a natural and subordinate part of the property, not a competing structure.
Planning for accessibility and universal design
Incorporating accessibility into your ADU design is not only a smart move for the future but also a requirement in many areas. Some regulations mandate features like accessible parking spaces with specific dimensions or no-step entryways. Beyond meeting code, embracing universal design principles makes your ADU more functional for everyone, from aging parents to young children or anyone with temporary mobility challenges. Features like wider doorways, lever-style door handles, and walk-in showers can make the space more comfortable and valuable in the long run. Planning for accessibility from the start shows foresight and can make your project more appealing to reviewers.
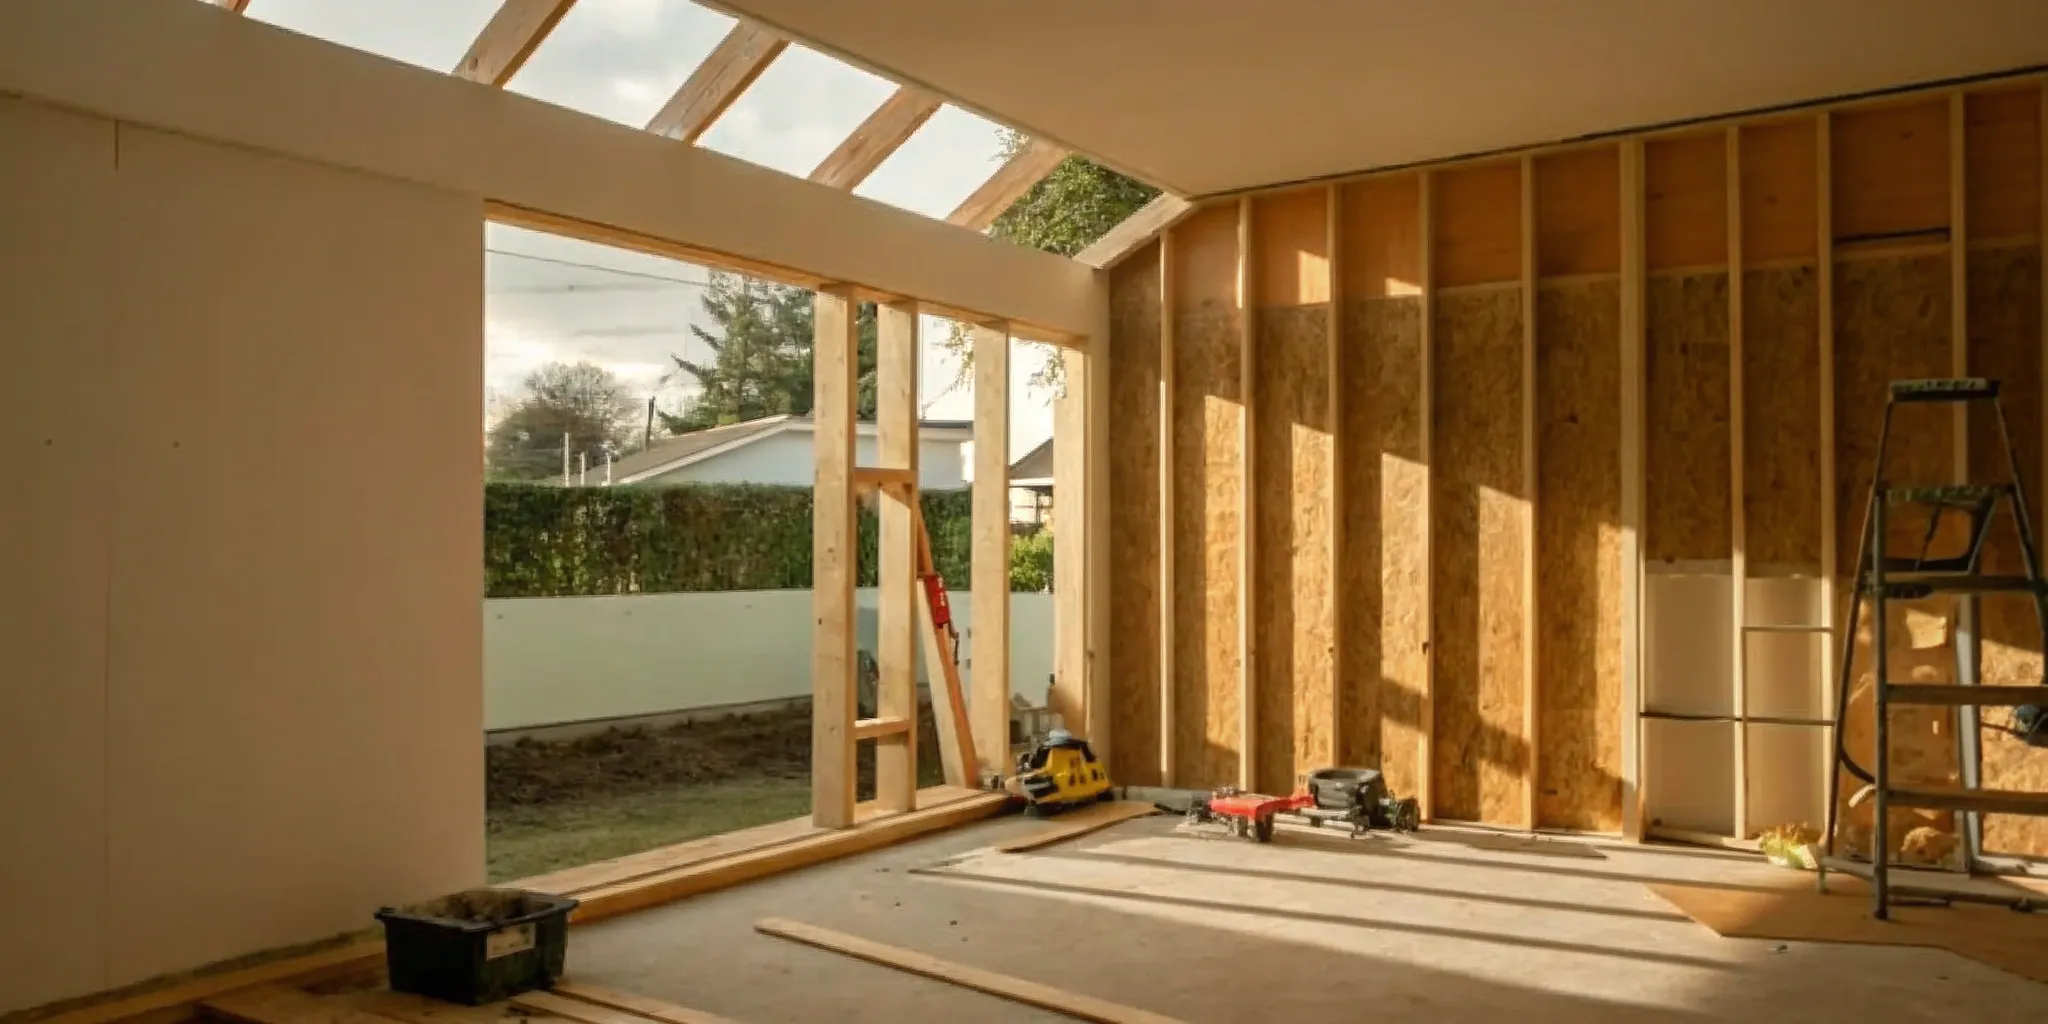
What to Expect: ADU Construction Inspections
Once your ADU plans are approved, the construction phase begins, and with it comes a series of inspections. Think of these as checkpoints to ensure your new space is safe, sound, and built to last. While your contractor typically coordinates these visits, understanding the process helps you stay informed and confident in your project's progress. Inspections are non-negotiable steps required by your local building department to verify that the work meets all safety and structural standards.
Each inspection happens at a specific stage of construction, from the moment the ground is broken to the final coat of paint. An inspector will visit your property to review the work done so far before your team can move on to the next phase. This might seem like a lot of oversight, but it’s designed to protect you and your investment. It prevents costly mistakes and ensures that critical systems like plumbing and electrical are installed correctly from the start. At Realm, your dedicated advisor helps you understand this timeline and ensures your project stays on track, working with your vetted contractor to manage every inspection seamlessly. This structured oversight is a key part of a successful home renovation journey.
The foundation and structural check
This is one of the very first and most important inspections. It happens after the trenches are dug and the steel rebar is in place, but before any concrete is poured. An inspector will visit your site to verify that the foundation's dimensions, depth, and structural reinforcements match your approved plans. They’re checking to make sure the base of your ADU is strong enough to support the entire structure for decades to come. This is why it's so important that your contractor fully understands local zoning and building codes, as a solid foundation is crucial for a safe and compliant build.
Electrical and plumbing inspections
After the framing is up but before the drywall is installed, you’ll have what’s called a “rough-in” inspection. At this stage, an inspector will examine the internal guts of your ADU, including all the wiring, pipes, and ducts that are hidden in the walls. They check to see that all electrical and plumbing systems are installed according to code, ensuring everything is safe and functional. This inspection is critical for preventing future issues like leaks or electrical hazards. It’s a key step in making sure your ADU is not just beautiful, but also a safe and durable long-term investment.
Fire safety and code compliance
Your family's safety is the top priority, and this inspection confirms it. A fire safety inspection focuses on features designed to protect occupants in an emergency. The inspector will check for the proper placement of smoke and carbon monoxide detectors, ensure there are clear and accessible exits (a concept known as egress), and verify that fire-resistant materials have been used where required by code, such as in walls separating the ADU from the main house. Complying with local fire codes is essential, and this check ensures your ADU is a secure and protected living space.
The final inspection for occupancy
This is the last hurdle before you can officially use your new ADU. Once construction is completely finished, a city inspector will conduct a final walkthrough. They’ll check everything from handrail stability and window function to outlet covers and appliance installation. They are essentially confirming that the finished project matches the approved plans and that all previous inspection corrections have been made. Upon passing this final review, you’ll be issued a Certificate of Occupancy. This is the official document that legally permits you to live in the space or rent it out to tenants.
What Documents Do You Need for Your ADU Application?
Getting your ADU permit application ready can feel like you’re assembling a giant puzzle. There are quite a few pieces, but once you see how they fit together, the picture becomes much clearer. The goal of all this paperwork is to give your local planning department a complete and accurate overview of your project. They need to see that your plan is safe, meets local requirements, and respects your property and neighborhood.
Think of the application package as your project’s resume. It needs to include everything from who you are and what you own to the highly detailed architectural plans for what you want to build. Each document serves a specific purpose, whether it’s proving ownership, outlining the construction details, or confirming that your design complies with building codes. While the specifics can vary slightly between cities like Los Angeles and Seattle, the core documents are generally the same. Having everything in order from the start is the best way to ensure a smooth and timely review process. A dedicated advisor can be a huge help in making sure you have all your ducks in a row before you submit. It’s not just about filling out forms; it’s about presenting a professional, well-thought-out plan that gives city officials confidence in your project.
Your application form and proof of ownership
This is your starting line. Every city has a standard application form that kicks off the ADU review process. This form gathers basic information about you, your property, and the general scope of your project. Alongside the form, you’ll need to provide proof of ownership, which is typically a copy of your property’s deed. This simply confirms that you have the legal right to build on the land. Think of these documents as the foundation of your application. They officially connect you to the property and the project you’re proposing. The application will also ask for a clear project description, including the ADU’s square footage and whether it’s attached or detached. It’s a straightforward but critical step to get right.
Professional site plans and building permits
This is where your vision starts to take shape on paper. You’ll need a professional site plan, which is a detailed map of your property showing property lines, existing structures, and exactly where the new ADU will sit. You will also need a full set of architectural drawings, or blueprints, that detail the ADU’s design, from the foundation to the roof. These plans are essential for obtaining your building permits. You’ll typically need a general building permit plus separate permits for electrical, plumbing, and mechanical systems (like heating and cooling). These technical documents must be prepared by a qualified professional, such as an architect or a designer from a vetted vendor network, to ensure they meet all city standards for safety and construction.
When you need a conditional use permit
Sometimes, a project doesn’t fit neatly into the standard zoning rules and requires special permission. This is where a conditional use permit (CUP) comes in. A CUP is an extra layer of approval from your city’s planning commission for projects that are generally allowed in your area but need a closer look because of their specific size, location, or potential impact. For example, you might need a CUP if your ADU design is larger than what’s typically permitted or if it doesn’t meet standard setback requirements. The process for getting a CUP often involves a public hearing where officials and sometimes neighbors can weigh in. It’s wise to ask your local planning department early on if your project might require one, as it can add several months to your timeline.
Local building code compliance documents
Beyond zoning rules that dictate where and how big you can build, your ADU must also follow strict building codes. These codes are all about safety and ensuring the structure is sound, habitable, and built to last. Your application will need to include documents and plans that show your ADU design complies with the California or Washington Residential Code, depending on your location. These codes cover everything from the structural integrity of the foundation and walls to fire safety measures, like smoke detectors and proper egress windows. They also specify standards for plumbing, electrical wiring, and energy efficiency. Your architect and contractor are responsible for knowing these codes inside and out, but it’s the city’s job to verify compliance through your submitted plans.
How Long Does the ADU Approval Process Take?
One of the first questions every homeowner asks is, "How long will this take?" While there's no single answer, the good news is that recent state and local laws have made the ADU approval process much more straightforward than it used to be. The timeline depends heavily on your city's specific regulations, the complexity of your project, and how well-prepared your application is. Think of it less like waiting in a long line and more like putting together a puzzle; the better you organize the pieces upfront, the faster it all comes together.
The total time from initial design to final approval can range from a few months to over a year. This includes the time it takes to create your plans, gather documents, and go through the city's review cycles. While your local planning department has a big role to play, you have a surprising amount of control over the pace. A thorough, well-researched application is your best tool for keeping your project moving forward without unnecessary hold-ups.
A realistic timeline for permit review
Once you submit a complete application, the clock starts ticking for the planning department. In California, for example, the law requires agencies to approve or deny an ADU permit application within 60 days. This has significantly shortened what was once a long and unpredictable wait. However, the key phrase here is "complete application." If your submission is missing information or contains errors, the city will send it back for revisions, and the 60-day clock will reset once you resubmit. A realistic timeline accounts for both the city’s review period and the time you’ll spend preparing the perfect application package.
Common factors that cause delays
The most common delays come from simple, avoidable mistakes. An incomplete application is the number one reason for a setback. This could mean missing a required form, having architectural plans that don't meet local building codes, or failing to include a necessary site map. Another major factor is a lack of thorough planning. Building an ADU is a significant investment, and it’s important to think beyond just the immediate benefits. Rushing the design phase or choosing low-quality materials can lead to plan changes mid-review, which sends you right back to the starting line. Taking the time to prepare a detailed and accurate plan is the best way to avoid these frustrating delays.
Tips for speeding up your application
Want to get your permit as quickly as possible? Start with a feasibility review. Before you even hire an architect, it’s wise to consult with a contractor or project advisor who deeply understands your local zoning and building codes. They can help you confirm that your property is eligible and that your vision aligns with what the city will approve. Submitting a flawless application is the goal. This means working with professionals to create detailed plans that anticipate the city’s requirements. With expert guidance, you can ensure every box is checked, preventing the back-and-forth that slows so many projects down.
How to Handle Common ADU Approval Hurdles
Even with the best-laid plans, you might run into a few bumps on the road to getting your ADU approved. Think of these not as roadblocks, but as detours you can plan for. From navigating neighborhood feedback to securing the right funding, being prepared for common hurdles is the key to keeping your project moving forward smoothly.
The good news is that you don’t have to figure it all out on your own. Having an expert on your side can make a world of difference when you’re dealing with complex regulations and unexpected challenges. A dedicated advisor can help you anticipate these issues, manage communication with city officials, and find creative solutions to keep your project on track. Understanding how it works with a professional partner can give you the confidence to tackle any obstacle that comes your way. Let’s walk through some of the most common hurdles and how you can handle them.
Address neighbor concerns and objections
It’s natural for your neighbors to have questions about your ADU project. Some may worry about their privacy, potential increases in traffic, or how a new structure might change the look and feel of the neighborhood. The best way to handle this is with open and early communication. Before you even submit your plans, consider chatting with your immediate neighbors. Share your vision, show them your preliminary designs, and be ready to listen to their feedback. Being transparent and considerate from the start can help build goodwill and prevent formal objections later on.
Manage zoning conflicts and variances
Zoning laws are incredibly specific to your city or county, and they dictate everything from how large your ADU can be to where it can be placed on your property. In some cases, your project might not fit perfectly within the existing rules, which means you’ll need to apply for a special exception, often called a “variance” or “conditional use permit.” This process requires a separate application and review. Before you get too deep into design, it’s crucial to understand the specific regulations for your area to see if you’ll need to request a variance.
Handle utility connection issues
A common oversight for homeowners is planning for utilities. Your ADU will need its own connections for water, sewer, electricity, and gas, and these must be separate from your main house. It’s important to contact your local utility companies early in the process to understand their requirements, timelines, and costs. Sometimes, the location of existing utility lines can impact your ADU’s placement or design, so getting this information upfront can save you from expensive changes later. Factoring these connections into your initial budget and site plan is a must.
Overcome financial constraints
Building an ADU is a significant investment, and figuring out how to pay for it can feel like a major hurdle. While the upfront cost is substantial, remember that an ADU can significantly increase your property value and create a new source of rental income. To cover the costs, look beyond traditional financing. Many areas offer government programs, grants, or low-interest loans specifically for ADU construction. Exploring these affordable building options can make your project more attainable and help you see a faster return on your investment.
What Mistakes Should You Avoid During ADU Approval?
Building an ADU is an exciting project, but a few common missteps can derail your timeline and budget. Getting ahead of these potential issues will make the entire approval process feel much smoother. By planning carefully from the start, you can save yourself a lot of stress and ensure your project is a success.
Don't skip your initial research
It’s tempting to jump right into designing your dream ADU, but laying the groundwork first is essential. Before you even think about floor plans, you need a solid understanding of your local zoning and building codes. As one expert notes, "Building an ADU is a big investment, and homeowners should think beyond the immediate benefits." A contractor or design professional who specializes in ADUs in your area can be an invaluable partner here. They’ll help you understand what’s possible on your property and avoid costly redesigns down the line. This early diligence ensures your project is viable and sets you up for a smoother approval process.
Avoid choosing an inexperienced contractor
The contractor you hire can make or break your ADU project. While a lower bid might seem appealing, "hiring an inexperienced or unlicensed contractor can lead to significant issues during the construction process." These issues can range from failed inspections and code violations to shoddy workmanship that needs to be redone. Look for a contractor with a proven track record of building ADUs in your city. Ask for a portfolio, speak with past clients, and verify their license and insurance. Working with a vetted professional gives you peace of mind that your project is in capable hands and will be built to last.
Don't underestimate project costs
One of the biggest hurdles for homeowners is a budget that doesn't match reality. You might "read a blog or hear from a friend that it only costs $100,000–$150,000 to build an ADU." While some projects might fall in that range, costs can vary widely based on your location, site conditions, and design choices. Permit fees, utility connections, landscaping, and high-end finishes can add up quickly. It’s crucial to develop a detailed budget that accounts for all potential expenses, not just the construction itself. Getting a customized plan with clear cost estimates from the beginning will help you avoid sticker shock and keep your project on track financially.
Pay attention to community impact rules
Your ADU doesn’t exist in a vacuum. It becomes part of your property and your neighborhood, so you need to consider its broader impact. Common mistakes include "ignoring utility connection issues and not considering the impact of the unit on the community." This means ensuring your existing water, sewer, and electrical systems can handle the extra load. It also involves thinking about your neighbors. Will your ADU block their light or overlook their yard? Thoughtful design can address privacy concerns and help maintain good relationships. You can often find state-level ADU handbooks that provide a great overview of these requirements.
Helpful Resources for a Successful ADU Project
Building an ADU is a big project, but you don’t have to figure everything out on your own. Tapping into the right resources can make the entire process smoother, from initial planning to final inspection. Knowing where to turn for accurate information and expert help is key to getting your project approved and built without unnecessary headaches. Here are the essential resources every homeowner should have on their list.
Your local planning department
Your first stop should always be your local planning and building department. Think of them as the ultimate source of truth for what you can and can’t do on your property. Before you even think about drafting plans, getting in touch with them will clarify the exact rules you need to follow. They can provide specific details on zoning, setbacks, and permit requirements that apply directly to your address. This single step can save you from costly mistakes and redesigns down the road. Many states offer official resources, like the California ADU Guidebook, which can help you prepare for this conversation.
When to call in the professionals
While it might be tempting to manage everything yourself, working with experienced professionals is one of the smartest moves you can make. An architect or designer who specializes in ADUs will know how to create a functional and beautiful space that meets all local codes. A good contractor is also essential for ensuring the build quality is high and the project stays on track. Hiring an inexperienced or unlicensed contractor is a common pitfall that can lead to major issues. Platforms like Realm can connect you with vetted professionals who have a proven track record with ADU projects, taking the guesswork out of finding the right team.
Online tools and guidance platforms
The world of ADUs is constantly changing, with new state and local laws making them more accessible. Online resources are fantastic for staying up-to-date on these evolving regulations. Websites from housing authorities and city governments often provide the latest information. Beyond that, guidance platforms can help you manage the entire project from start to finish. A service like Realm provides a customized plan for your project, helping you understand costs, timelines, and potential return on investment. These tools give you the data and support you need to make informed decisions every step of the way.
Related Articles
Frequently Asked Questions
What's the absolute first thing I should do before hiring an architect? Before you spend any money on design, have a conversation with your local planning department. This is the most critical first step. They can provide the specific zoning and building rules for your exact property. Knowing these non-negotiable details upfront will save you and your future design team from creating a plan that can't get approved, which prevents costly revisions and delays.
Does my ADU have to look exactly like my main house? It doesn't need to be a miniature clone, but it should look like it belongs to the same family. The key is creating a cohesive look. Most city guidelines require that the ADU's architectural style, materials, and colors complement the primary home. A design that feels connected to the main house is much more likely to sail through the approval process without issues.
Is the 60-day permit approval timeline in California a guarantee? That 60-day clock is a fantastic rule, but it only starts ticking once the city officially accepts your application as complete. If your submission has missing documents, incorrect information, or plans that don't meet code, the city will send it back for corrections. The clock then resets when you resubmit. The best way to take advantage of the 60-day rule is to ensure your application is perfect the first time you turn it in.
What costs should I budget for besides the actual construction? It's easy to focus on labor and materials, but several other costs are part of the total project budget. You'll need to account for architectural and design fees, city permit and inspection fees, and the cost of connecting new utilities like water and electricity. It's also wise to set aside funds for landscaping around the new unit and any new furniture or appliances you'll need.
Do I really need to talk to my neighbors about my ADU project? While you likely don't need their official permission, it is an incredibly smart and considerate move. Giving your immediate neighbors a friendly heads-up about your plans can prevent a lot of friction. It allows you to address any potential concerns they might have about privacy or construction noise before they escalate into formal complaints with the city, helping maintain a positive relationship.


.png)


.png)