The Cheapest Way to Convert a Garage: A Smart Guide
Find the cheapest way to convert garage to living space with practical tips, budget-friendly materials, and expert advice for a comfortable, legal transformation.
|
January 28, 2026

In this article:
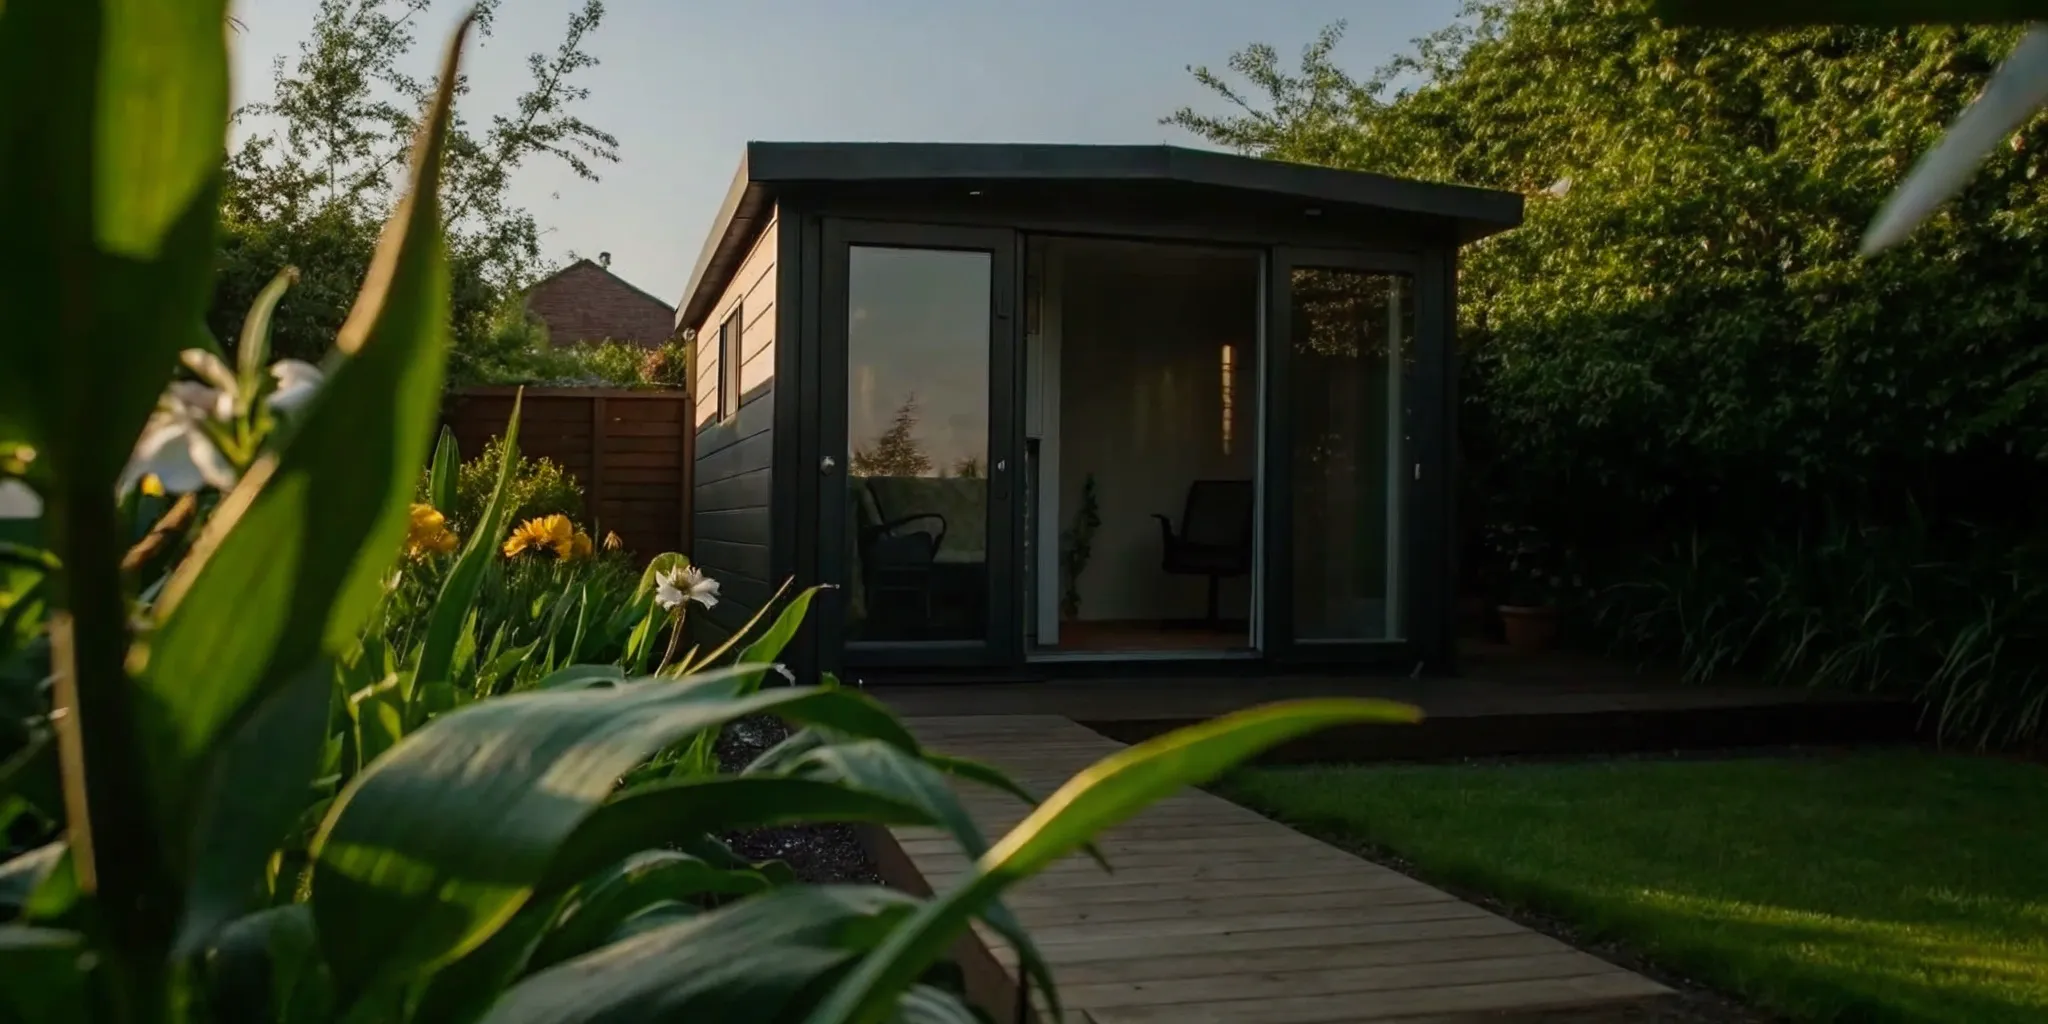
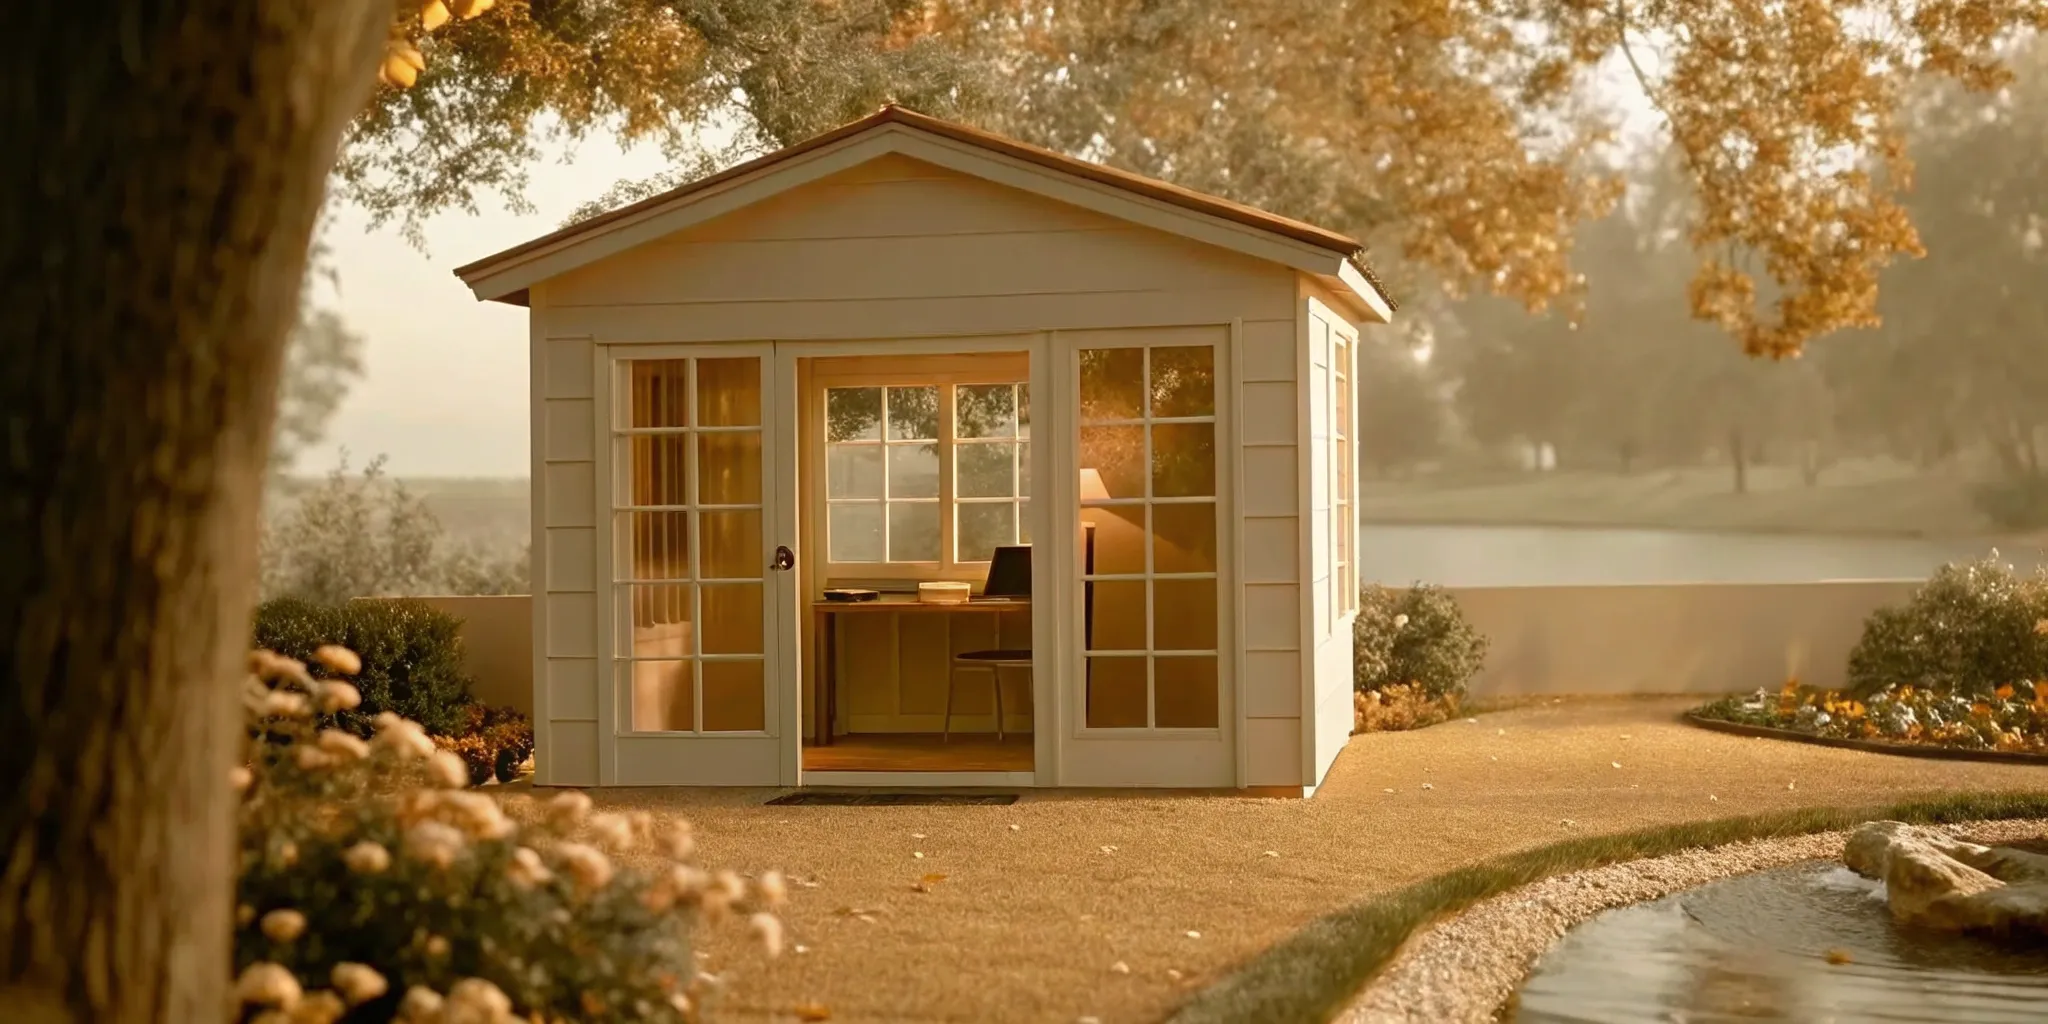
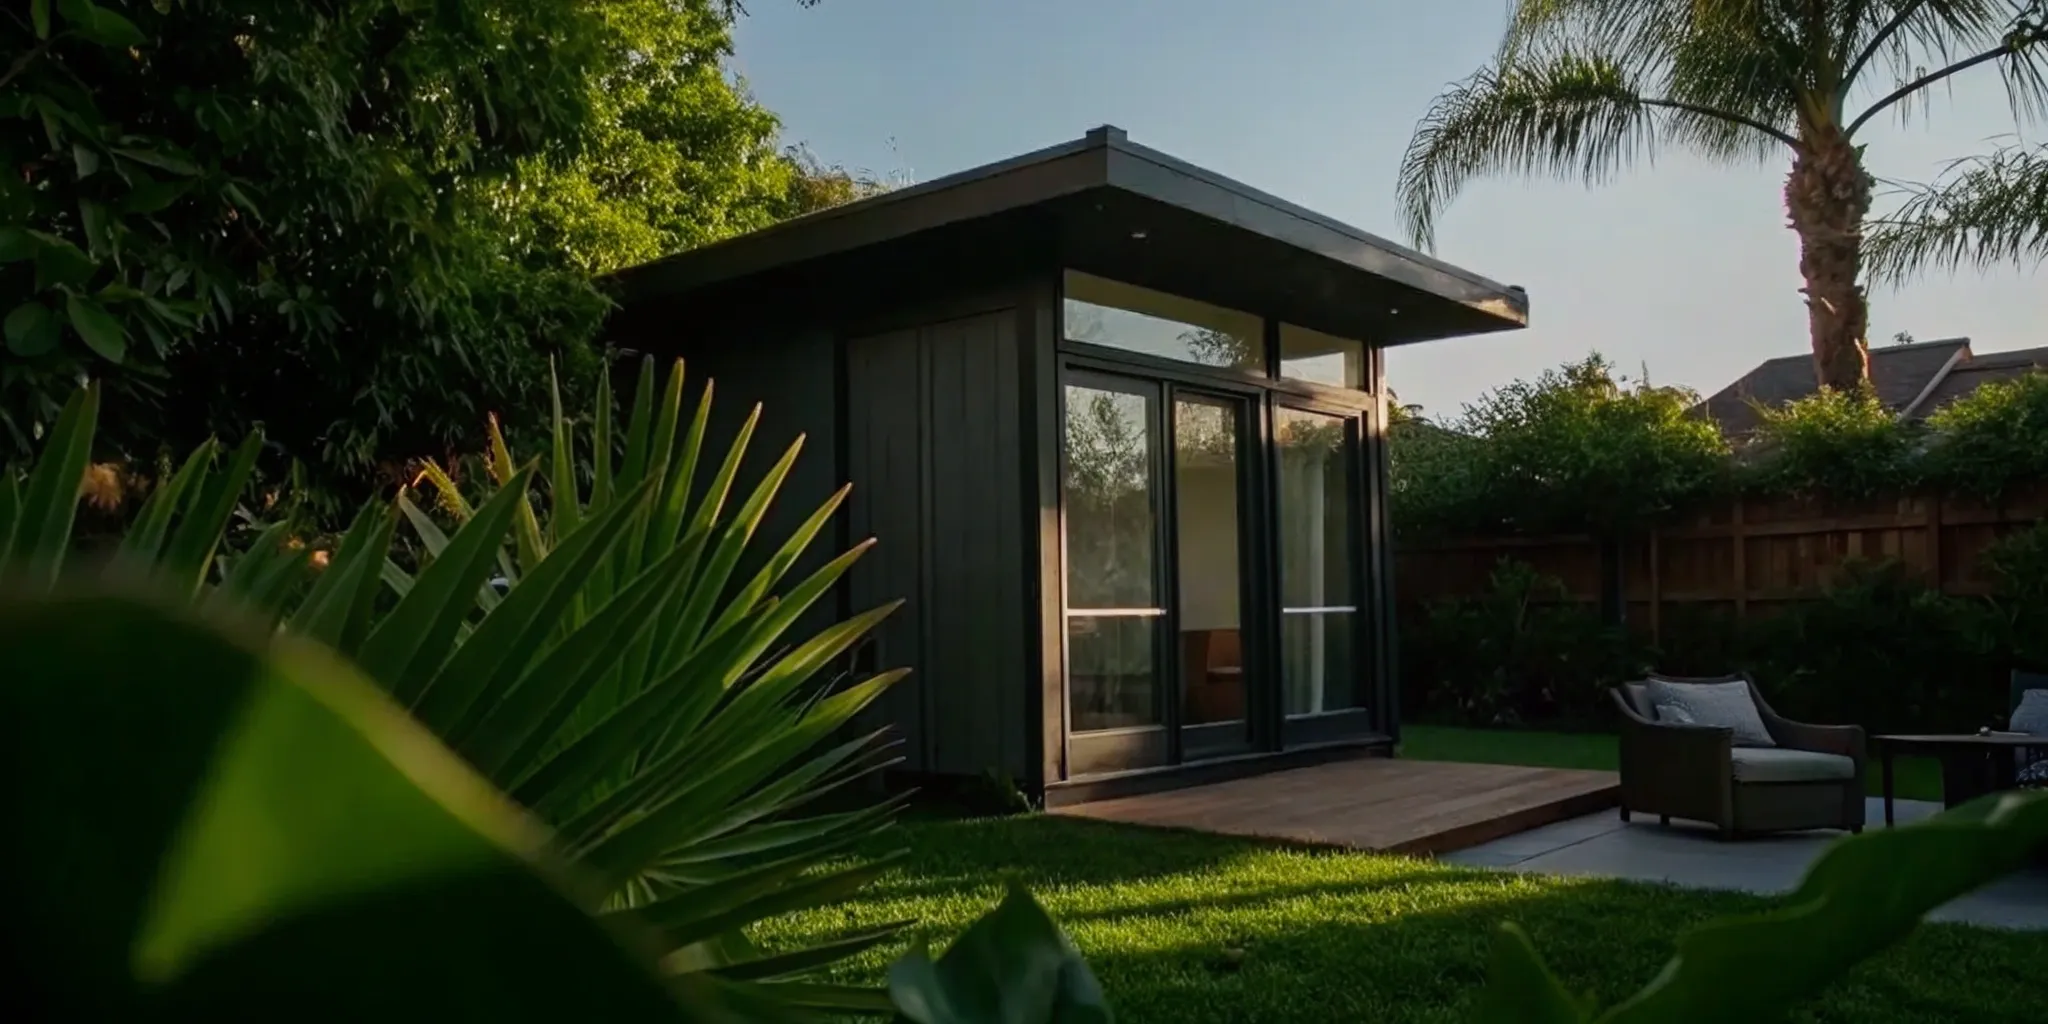
That extra space you’ve been dreaming of might be closer than you think. Your garage holds so much potential, whether you envision a quiet home office, a cozy family room, or a private apartment for extra income. The key to making this dream a reality is a smart, budget-conscious approach. A garage conversion is already a cost-effective project, but with the right choices, you can make it even more affordable. We’ll show you the cheapest way to convert garage to living space by breaking down where to save and where to invest, from DIY-friendly flooring to finding cost-effective wall materials that still look fantastic.
Key Takeaways
- Do Your Homework First: Before you start designing, confirm your garage is structurally sound, check local zoning laws, and get your permits in order. This foundational work prevents costly surprises and ensures your project is legal from the start.
- Know When to DIY and When to Hire a Pro: You can significantly cut labor costs by tackling cosmetic jobs like painting and installing simple flooring yourself. Always leave electrical, plumbing, and structural changes to licensed professionals to guarantee safety and code compliance.
- Invest in the Unseen Essentials: A successful conversion is more than just looks. Prioritize proper insulation, ventilation, and upgraded electrical systems to transform the space from a car shelter into a truly comfortable and safe part of your home.
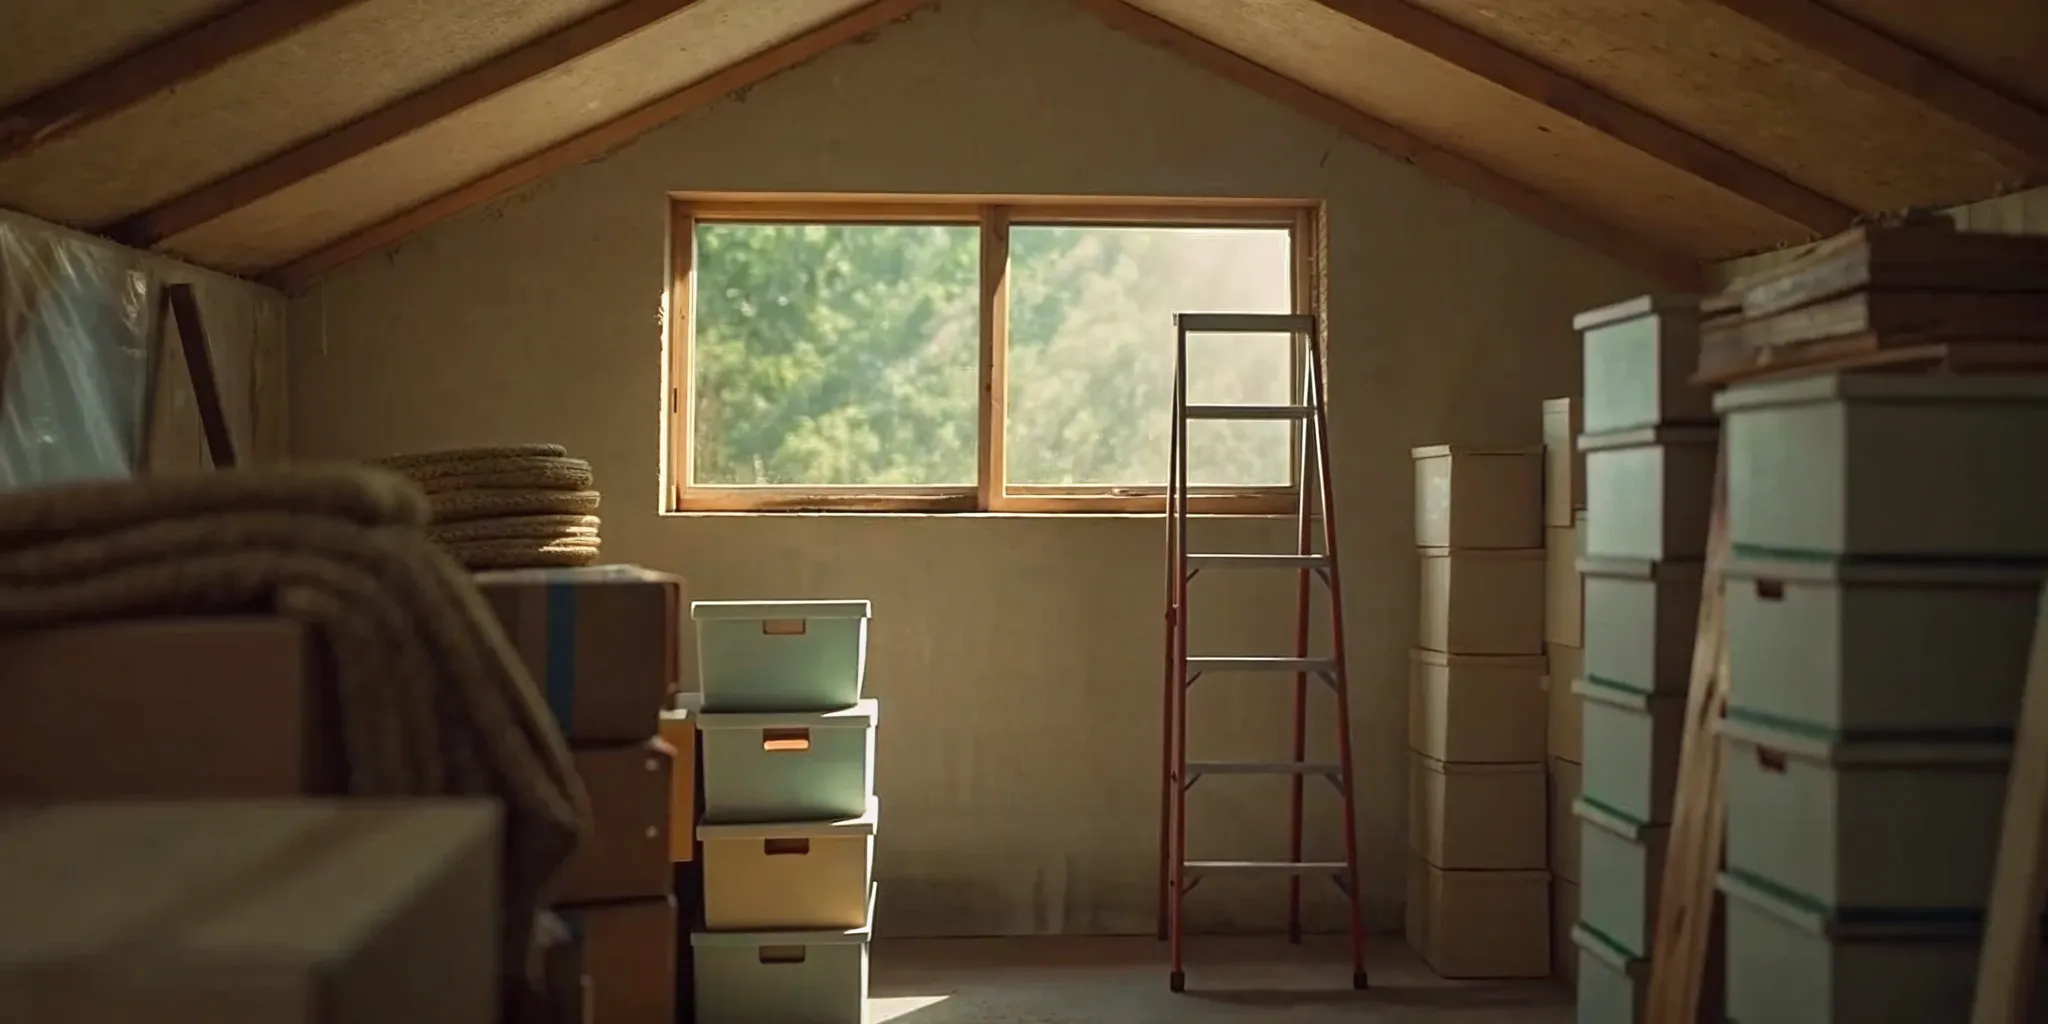
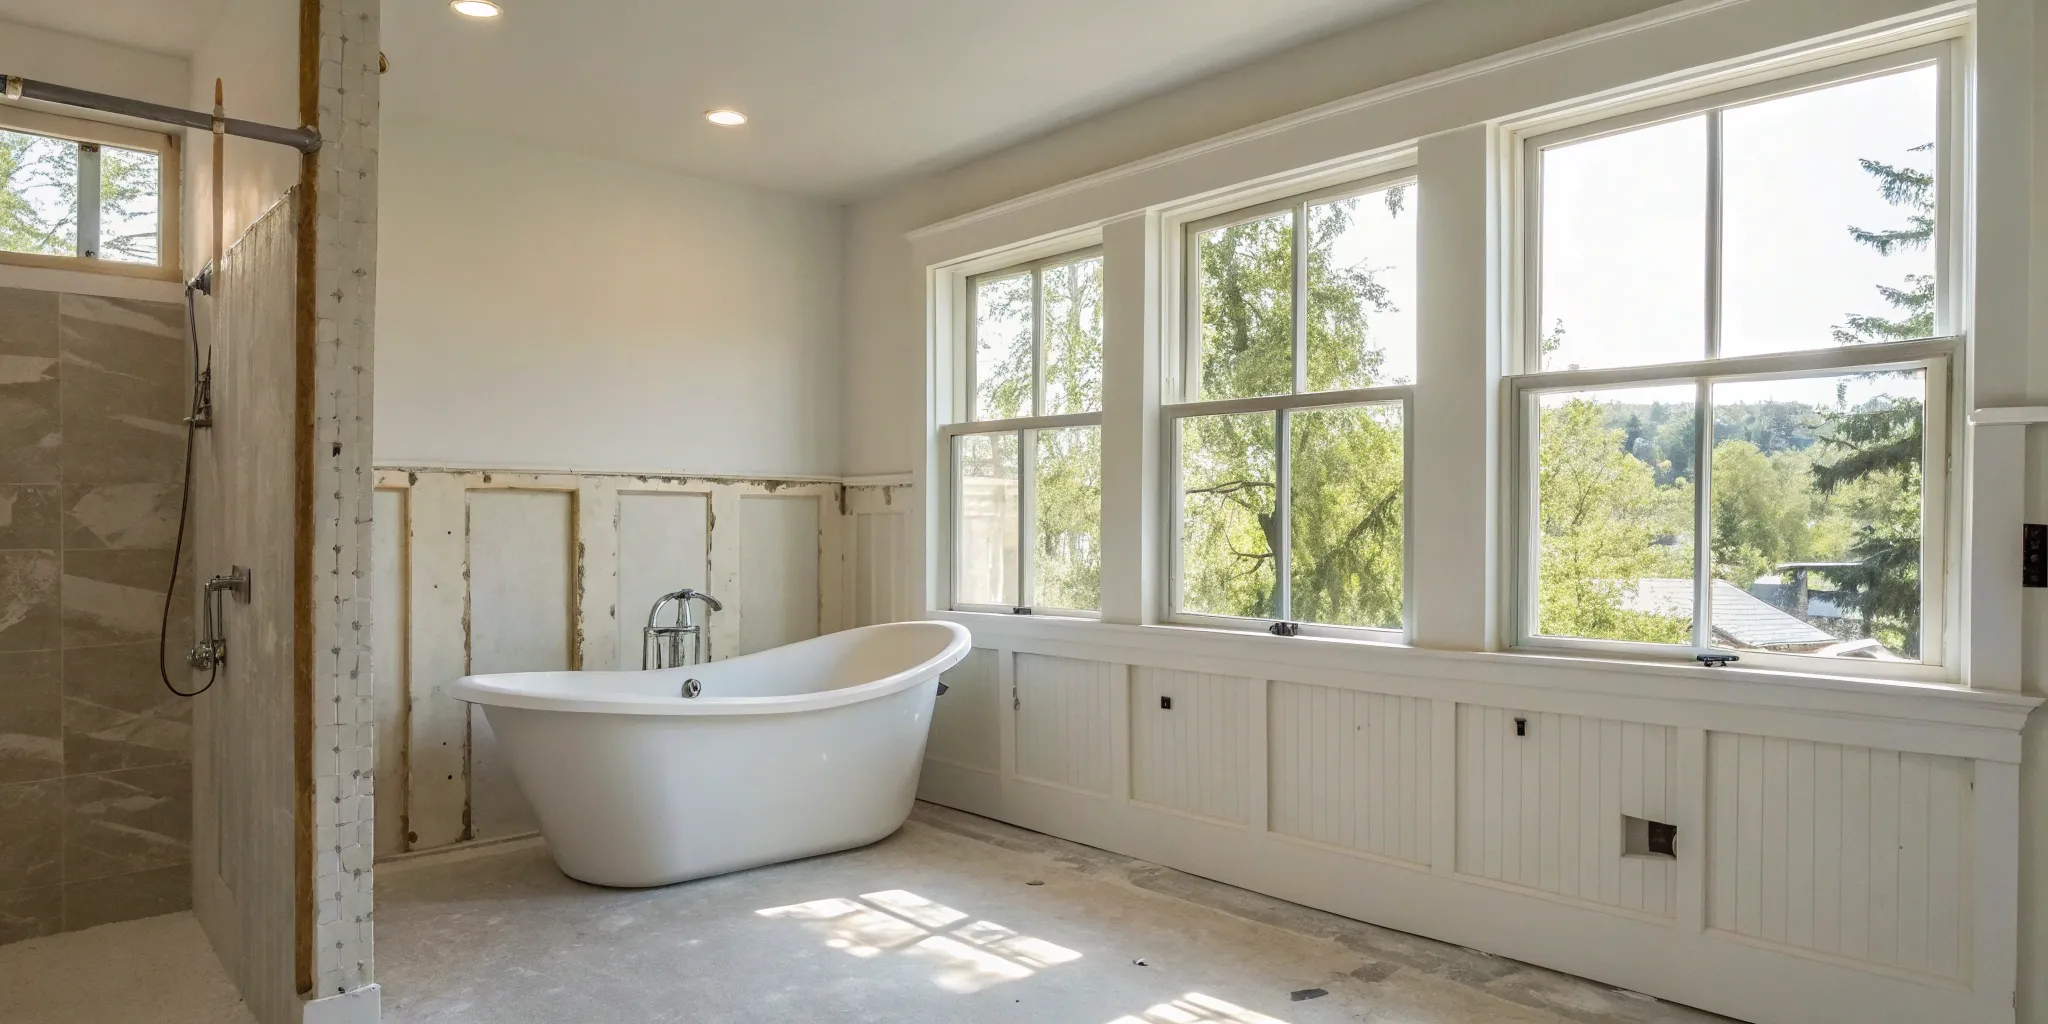
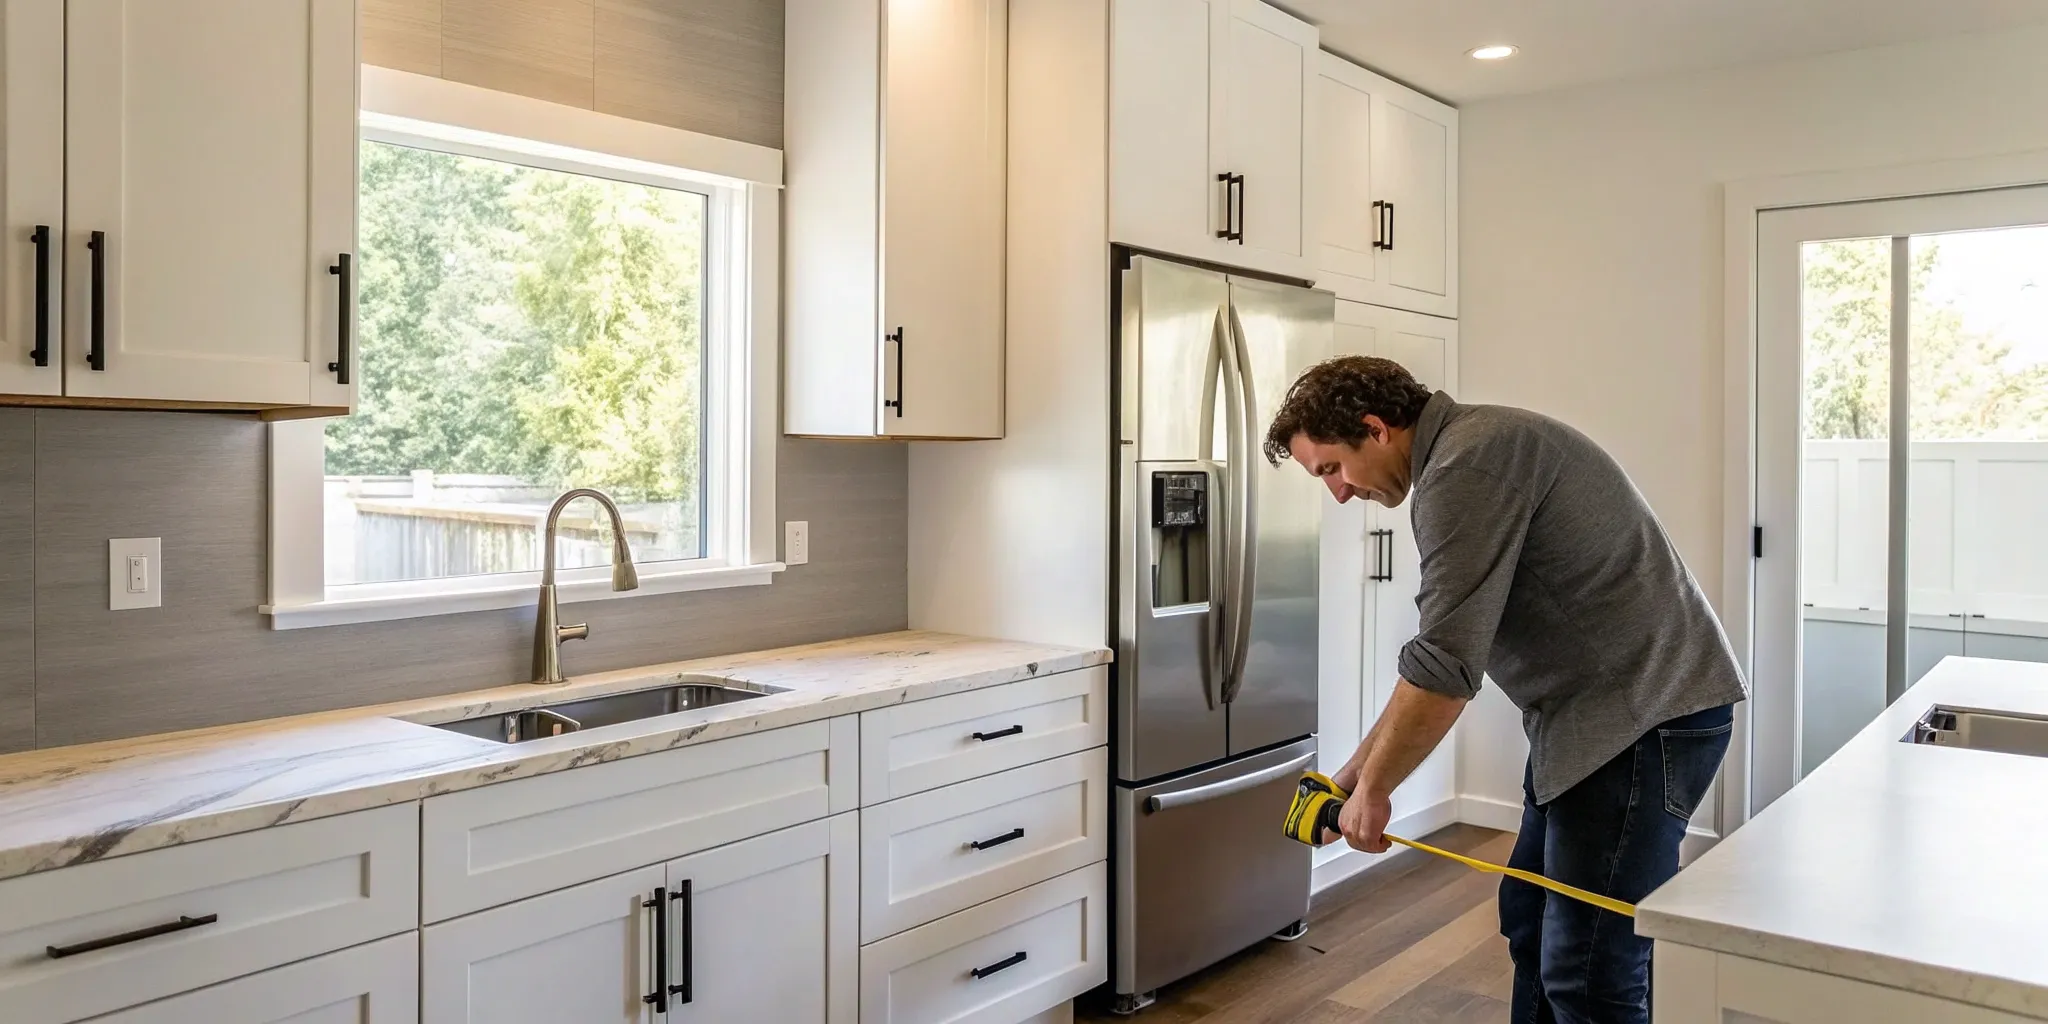
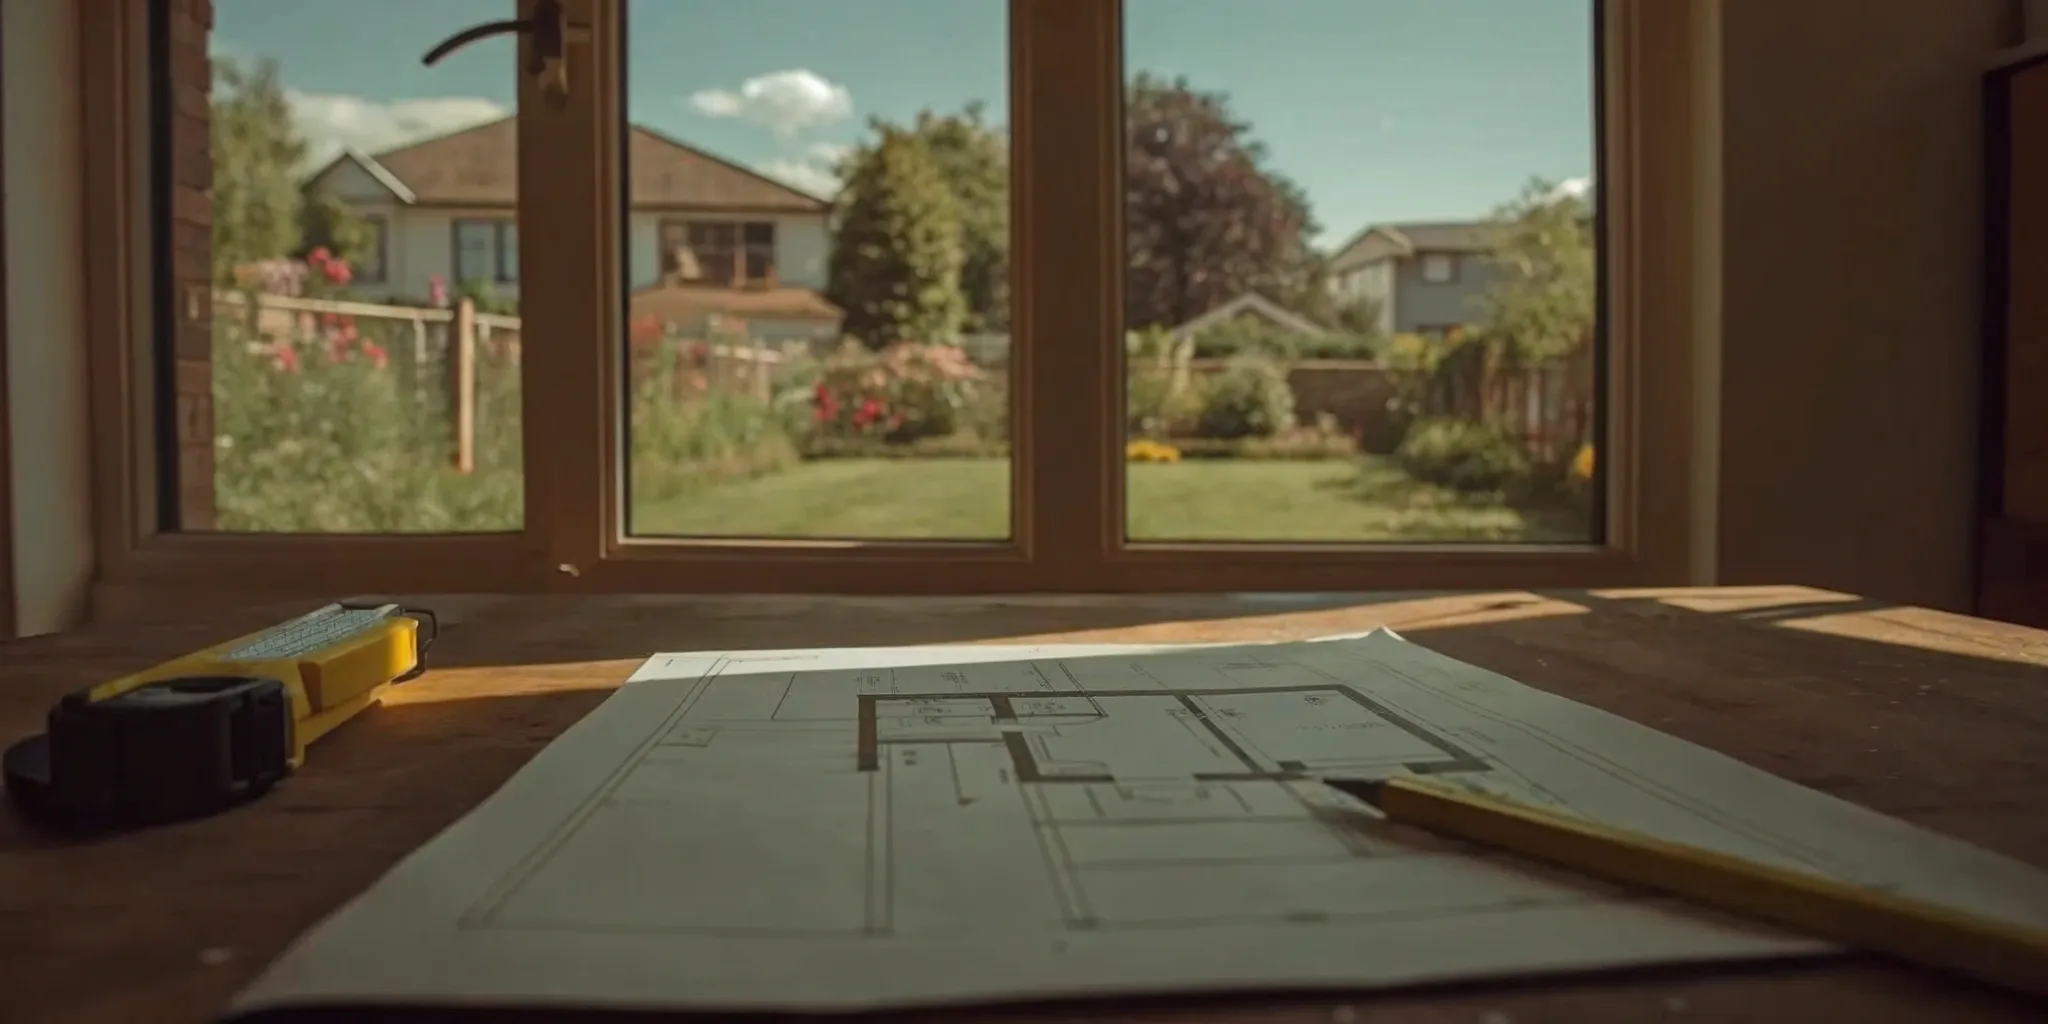
Is Your Garage Ready for a Makeover?
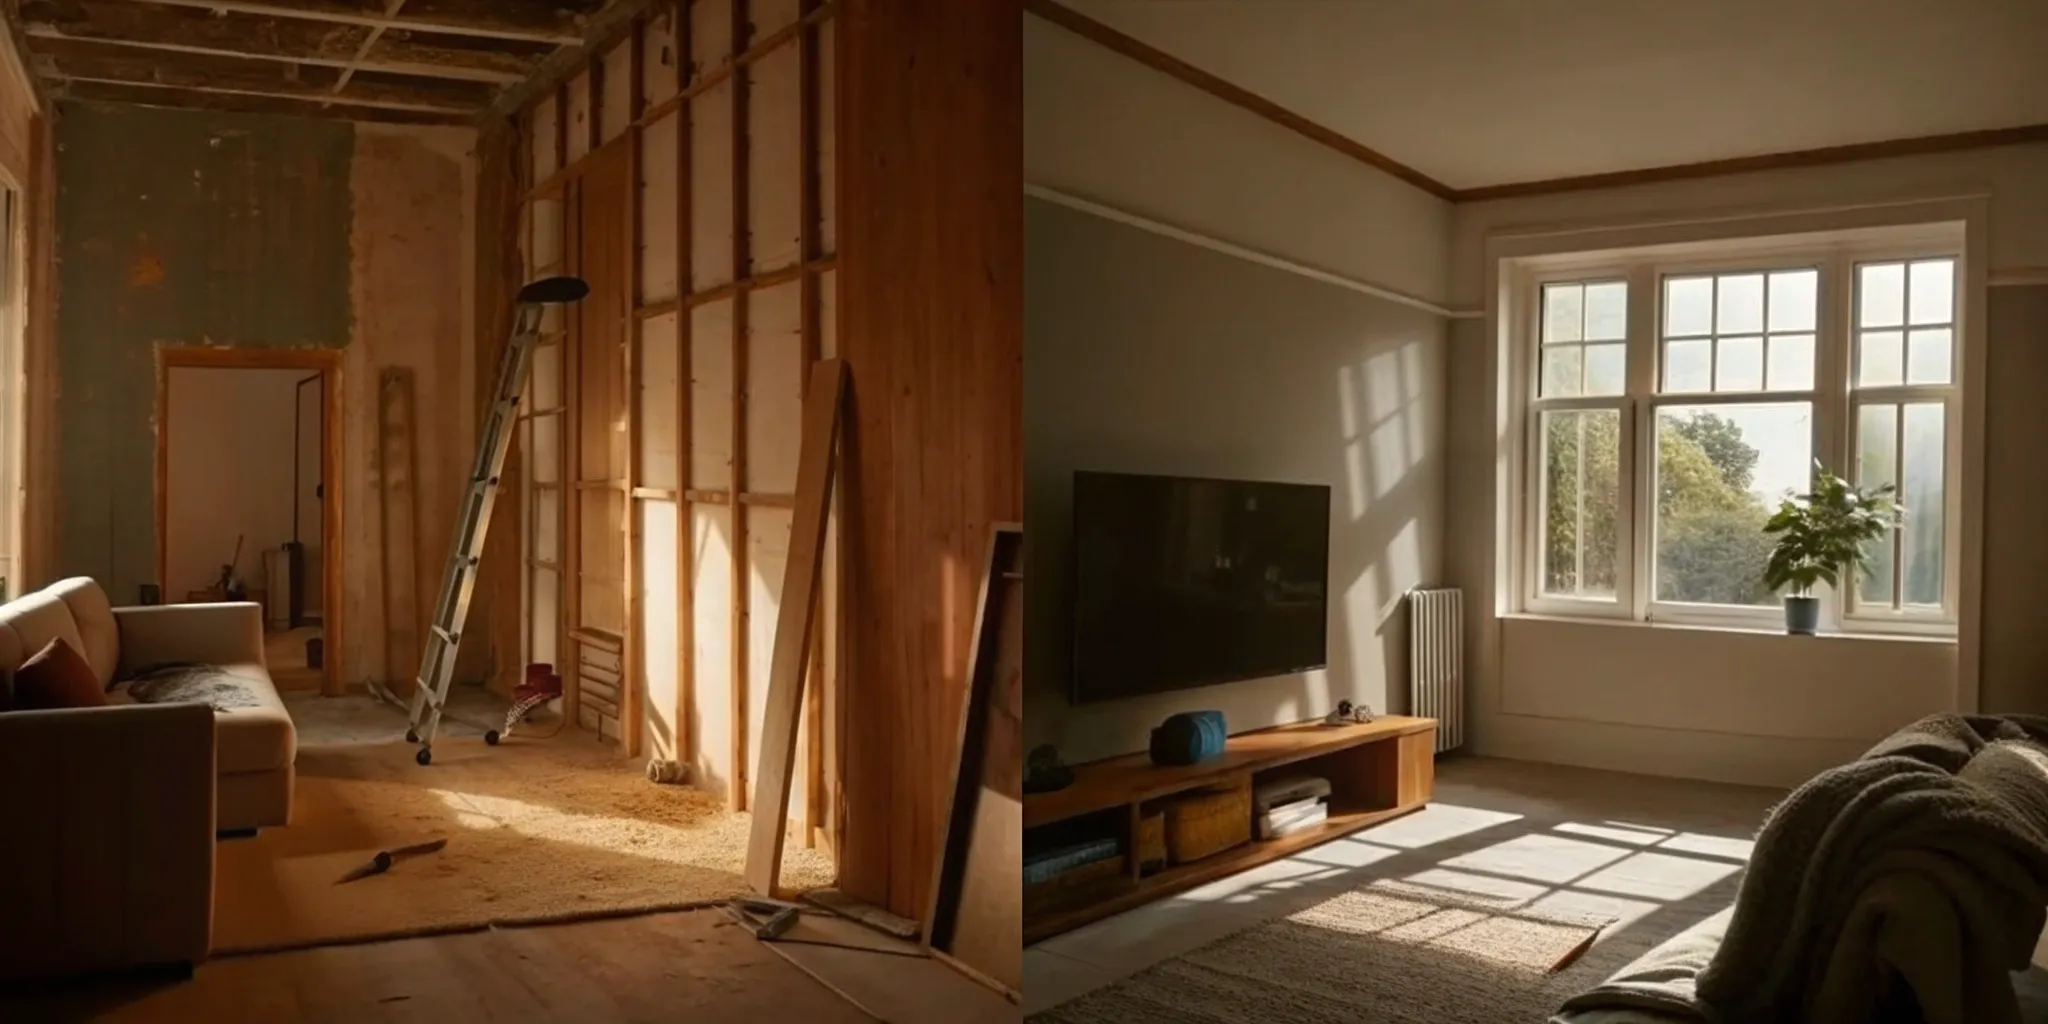
Before you start picking out paint colors and flooring, it’s important to figure out if your garage is a good candidate for a conversion. Turning a space designed for cars into a comfortable, legal living area involves more than just cosmetic changes. A thorough initial assessment will save you from headaches and unexpected costs down the road. Think of it as the essential first step in your project plan.
You’ll need to look at three key areas: the structural soundness of the garage, the condition of its foundation and ceiling, and the local rules that govern this kind of project. Getting these details right from the start ensures your new space is safe, compliant, and truly livable. This early planning phase is where having an expert in your corner can make all the difference, helping you understand what’s possible with your space and budget. The team at Realm can help you get a customized plan for your project.
Assess your garage's structure
First, take a hard look at the garage itself. Is it in good shape? One of the biggest concerns for homeowners is structural integrity. You need to evaluate the overall condition of the garage to ensure it can support the renovations you have in mind. Look for large cracks in the walls or foundation, signs of water damage on the ceiling or near the floor, and any evidence of termite damage in the wood framing. These issues must be addressed before any cosmetic work begins. A solid structure is the foundation of a safe and lasting conversion.
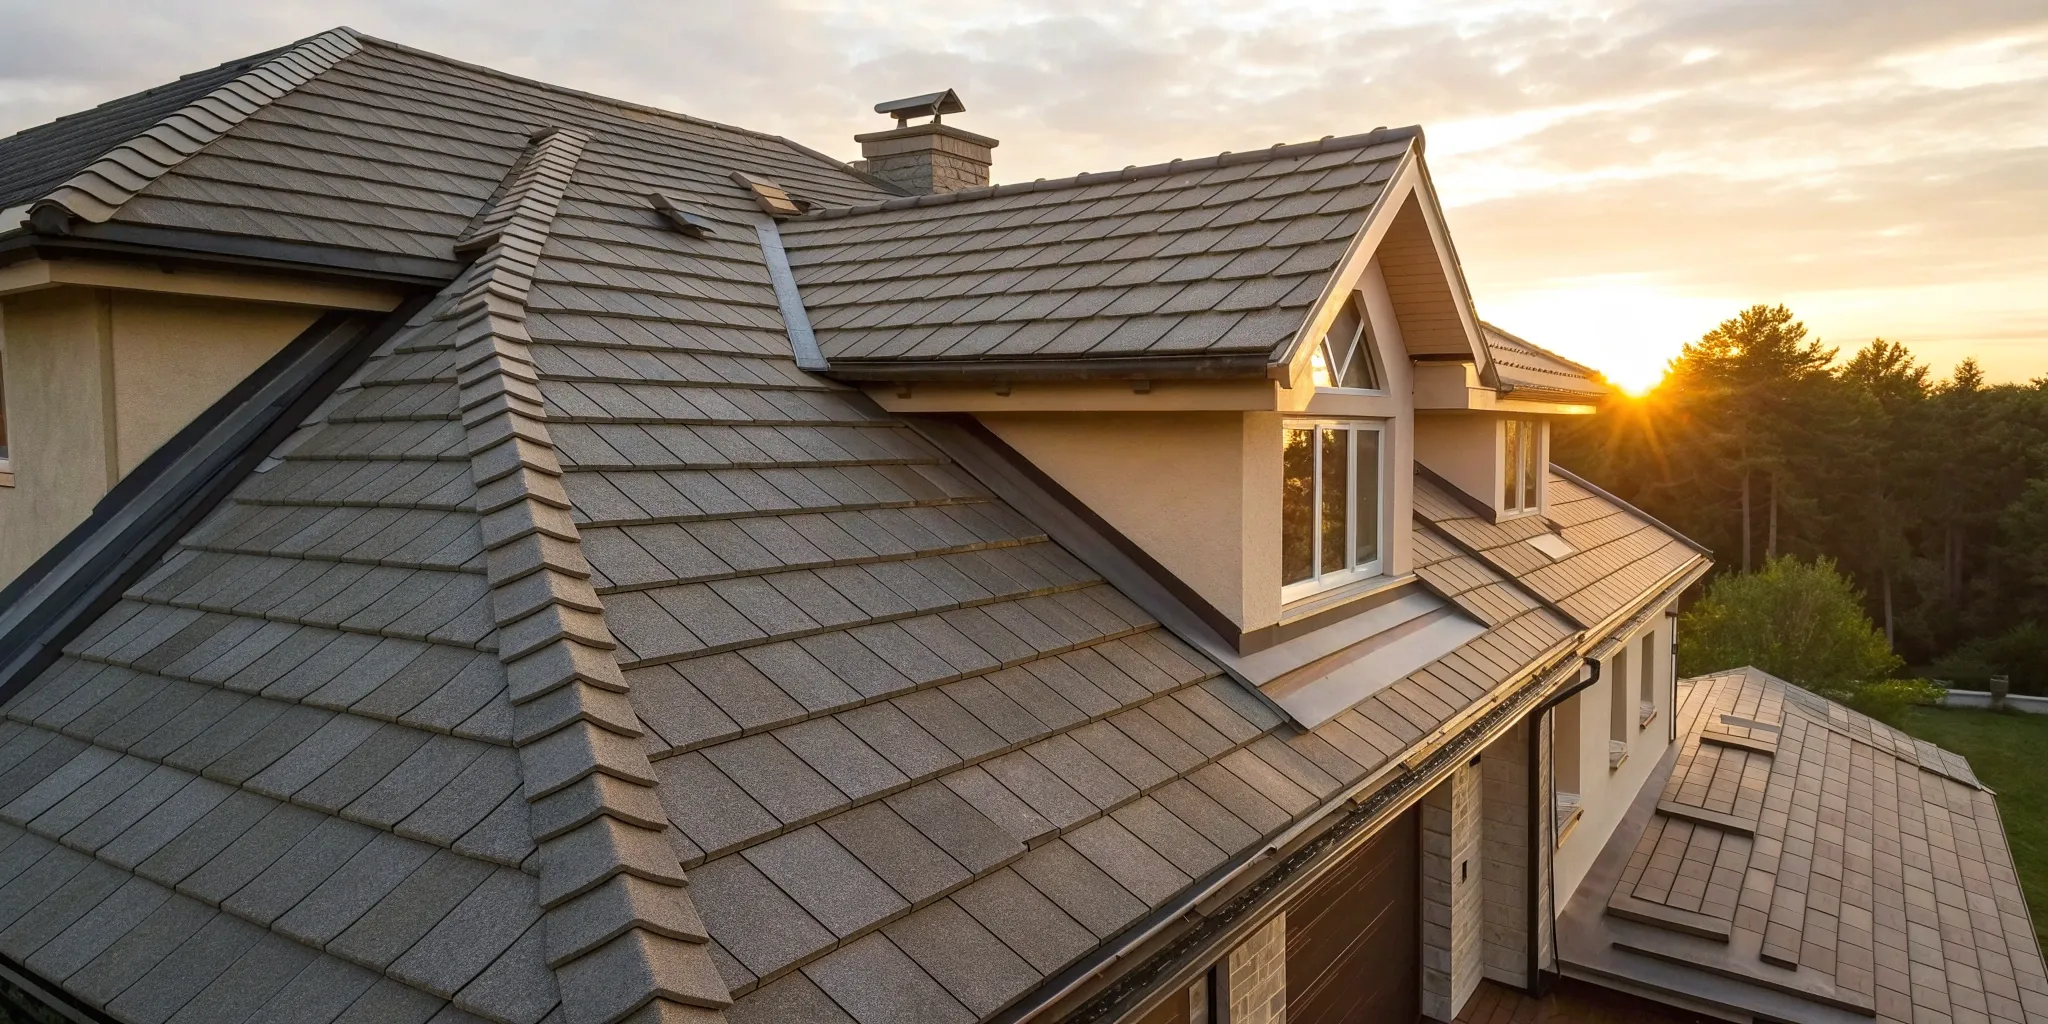
Check foundation and ceiling height
Next, focus on the floor and ceiling. You’ll need to inspect the foundation, roof, framing, and concrete slab for integrity. Many garages need insulation, waterproofing, and a proper ceiling height to become a comfortable living space. A cracked or uneven concrete slab will need to be repaired or replaced before you can install flooring. Most importantly, check the ceiling height. Building codes typically require a minimum height of 7.5 feet for a habitable room. If your garage ceiling is too low, you may need to explore costly solutions to raise it, which can significantly impact your budget.
Understand local zoning and HOA rules
Finally, it’s time to do some administrative homework. To determine if your garage is suitable for conversion, you need to check its compliance with local zoning and building regulations. Your city’s planning department can tell you if a conversion is allowed and if you’ll lose a required parking space. Additionally, if you live in a community with a Homeowners Association (HOA), check for any specific guidelines that may apply. Some HOAs have strict rules about altering the exterior of your home or may not permit garage conversions at all. Getting approval first prevents any potential fines or legal issues later.
What Permits Will You Need?
Let's talk about the not-so-glamorous but absolutely essential part of your garage conversion: permits. I know, paperwork isn’t the fun part, but getting this right from the start saves you from major headaches, fines, and even having to undo your hard work. Think of permits as your project's official green light, ensuring everything is safe, sound, and up to code. It’s a critical step that protects your investment and gives you peace of mind.
Secure your building permits
Before any walls come down or go up, you’ll need a building permit from your local municipality. This is the primary permit that covers the overall structural changes you’re making to convert the garage into a livable space. Skipping this step can lead to serious issues, including hefty fines and major roadblocks if you ever decide to sell your home. A trusted project advisor can help you figure out exactly what your city requires, so you can get started with confidence and avoid any surprises down the road.
Plan for electrical and plumbing permits
If you’re adding a bathroom, a kitchenette, or even just new outlets and lighting, you'll likely need separate permits for plumbing and electrical work. These are non-negotiable for safety. They ensure that all wiring and pipes are installed correctly by a licensed professional, protecting your home from potential fires or water damage. Your electrician and plumber will typically handle pulling these specific permits, but it’s important to confirm this with them. Working with vetted, reliable contractors ensures this process is handled correctly and efficiently.
Get your certificate of occupancy
Once the construction is complete and all the final inspections have been passed, you’ll receive a Certificate of Occupancy (CO). This is the official document that proves your new living space is legally habitable and meets all local building codes. It’s the final seal of approval that officially transforms your garage from a place for cars into a legitimate part of your home. Don't consider the project finished until you have this in hand—it’s crucial for insurance purposes and for your home’s future resale value.
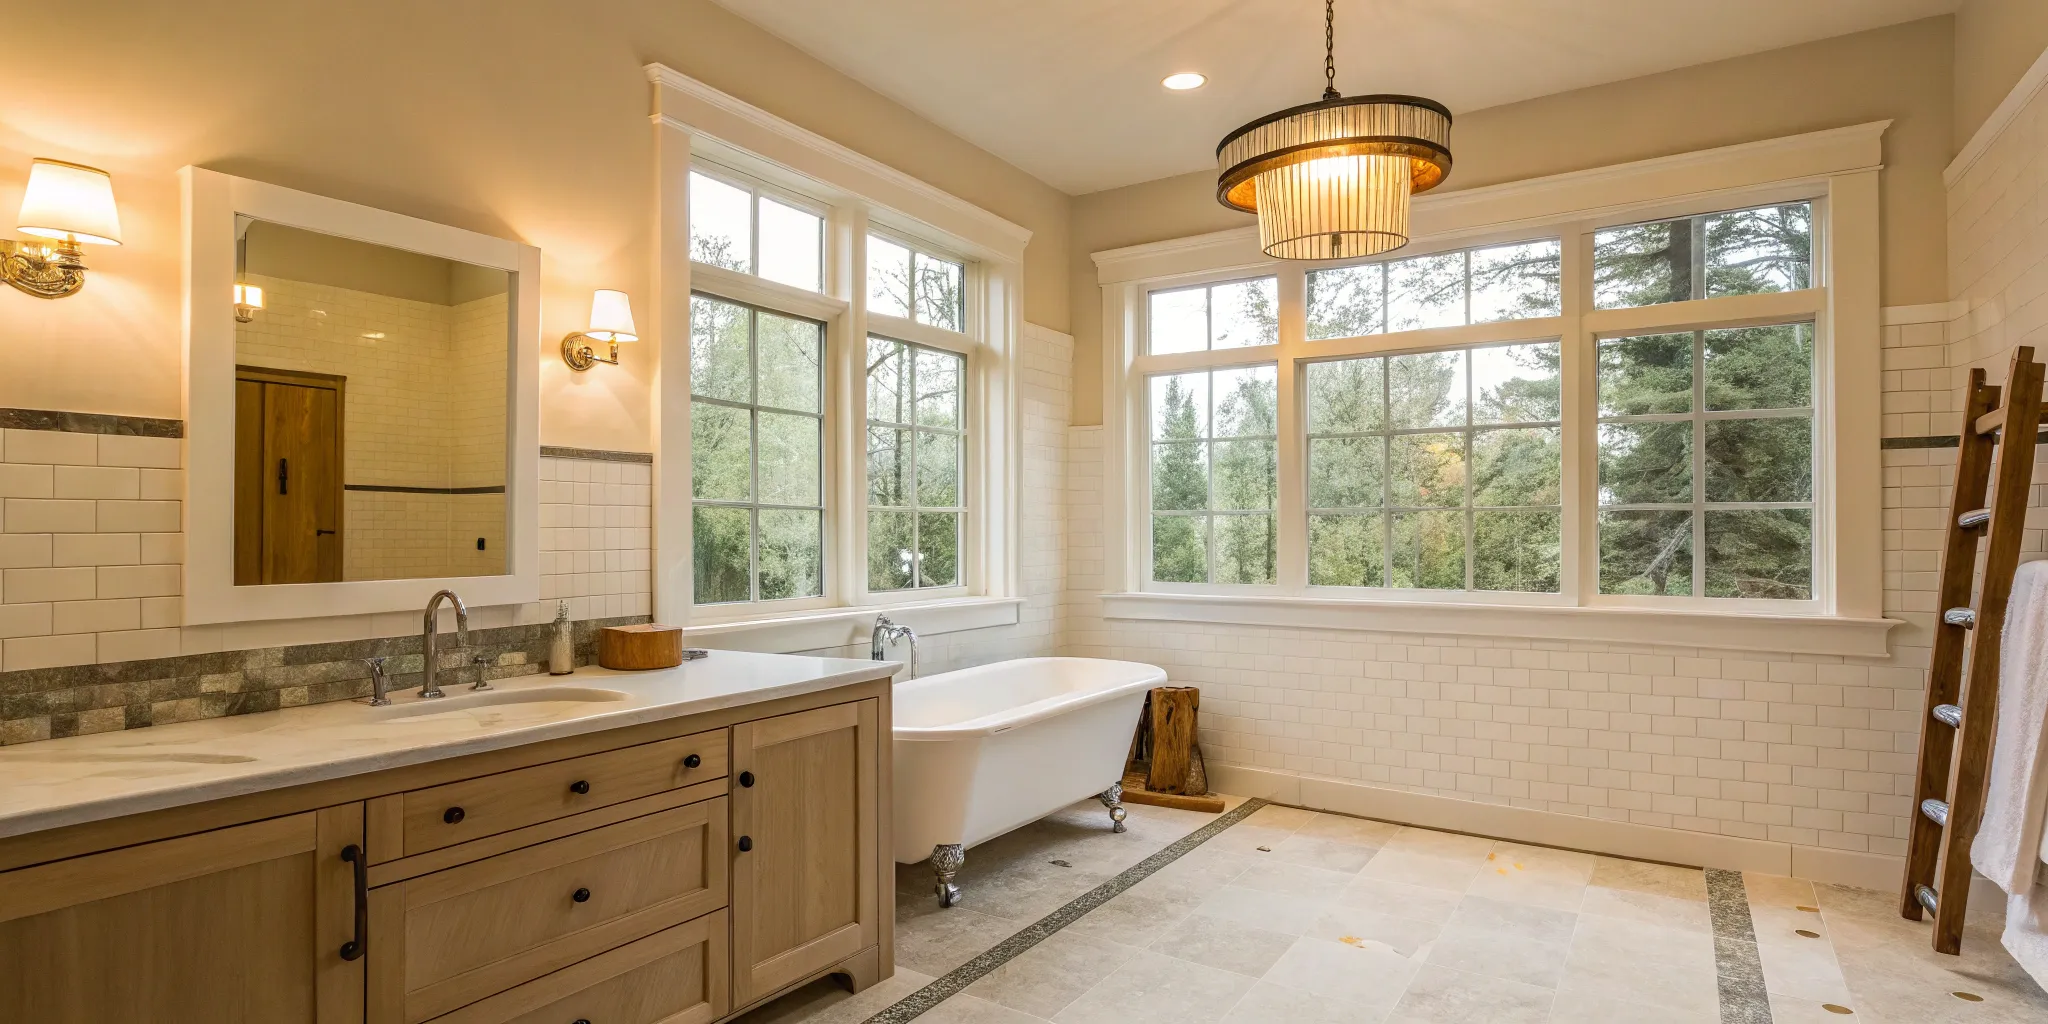
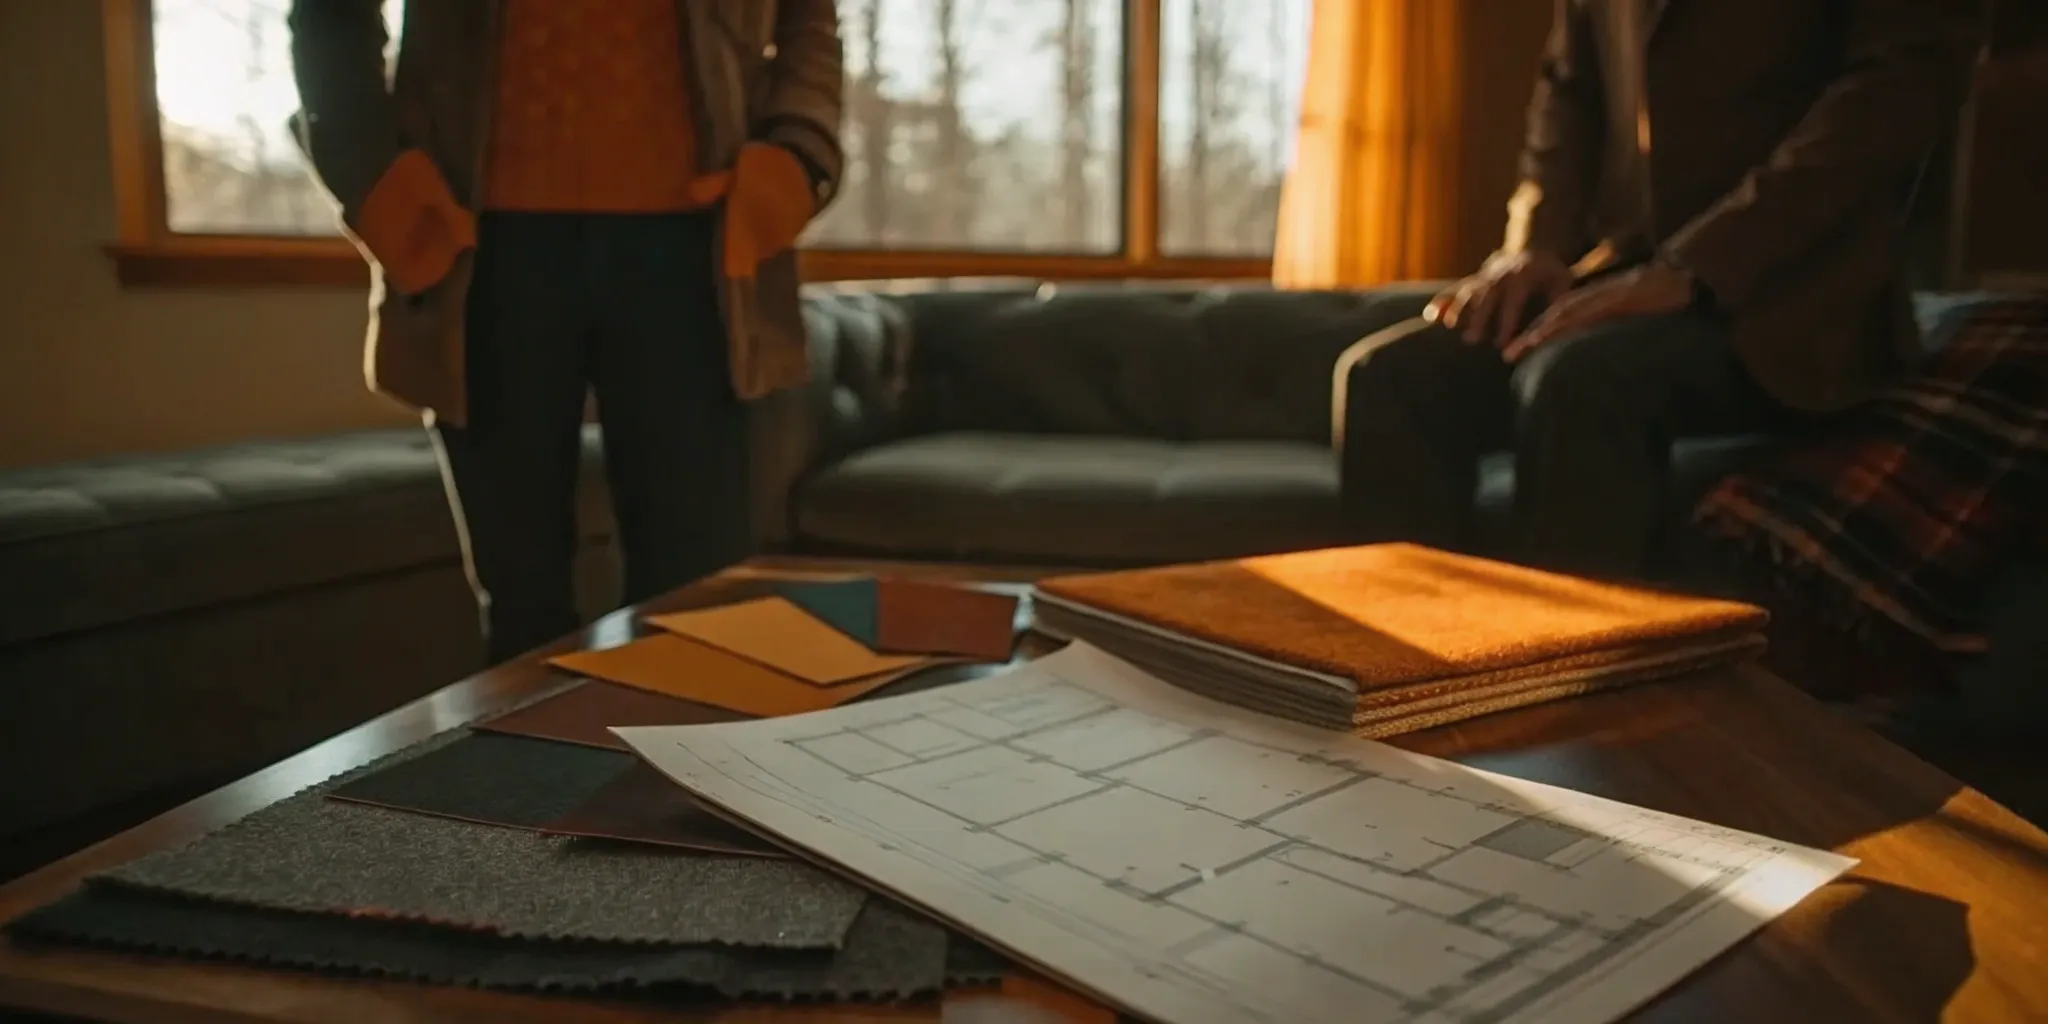
Choose Budget-Friendly Materials Without Sacrificing Quality
The materials you choose will have a huge impact on your budget, but you don’t have to pick between saving money and creating a beautiful, functional space. With a little creativity and smart shopping, you can find high-quality, budget-friendly materials that look great and stand the test of time. A garage conversion is a major project, but thoughtful material selection can keep costs manageable without compromising your vision. Here’s where to focus your efforts to get the most value for your money.
Find affordable flooring options
Your garage floor is likely a concrete slab, which gives you a great starting point. The most affordable route is to simply clean and paint it with a durable floor paint that includes an anti-slip additive. For a step up, an epoxy coating provides a tough, seamless, and easy-to-clean surface that’s perfect for a workshop or home gym. If you want something softer underfoot, interlocking rubber or foam tiles are a fantastic DIY-friendly option that adds comfort and a bit of insulation. They snap together easily, covering imperfections in the concrete below.
Select cost-effective insulation
Don't skip the insulation—it's essential for making your new space comfortable and keeping energy bills in check. Garages are rarely insulated to the same standard as the rest of a house, so you’ll likely need to add it to the walls and ceiling. Fiberglass batts are a popular and cost-effective choice for walls. For the floor, which can be a major source of heat loss, rigid foam board insulation laid before your final flooring can make a huge difference. This upfront investment will save you money on heating and cooling for years to come.
Pick wall materials on a budget
Once your walls are insulated, drywall is the standard for a reason: it’s affordable and provides a smooth, paintable surface. A fresh coat of a light, neutral paint can make the space feel larger and brighter. If you want to add more personality, consider creating an accent wall with inexpensive materials like beadboard, plywood panels, or even a fun peel-and-stick wallpaper. These options can deliver a high-end look without the high-end price tag and are often simple enough to install yourself over a weekend, completely changing the feel of the room.
Save on windows and doors
The garage door is a major decision point. The most cost-effective solution is often to keep the existing door, insulate it thoroughly, and cover the interior side with drywall or paneling to make it look like a regular wall. Removing it and framing a new wall with a standard entry door and windows is another great choice, though it typically costs more. When adding windows, stick to standard, off-the-shelf sizes to avoid the expense of custom orders. You can also find great deals on salvaged doors and windows at architectural reuse centers.
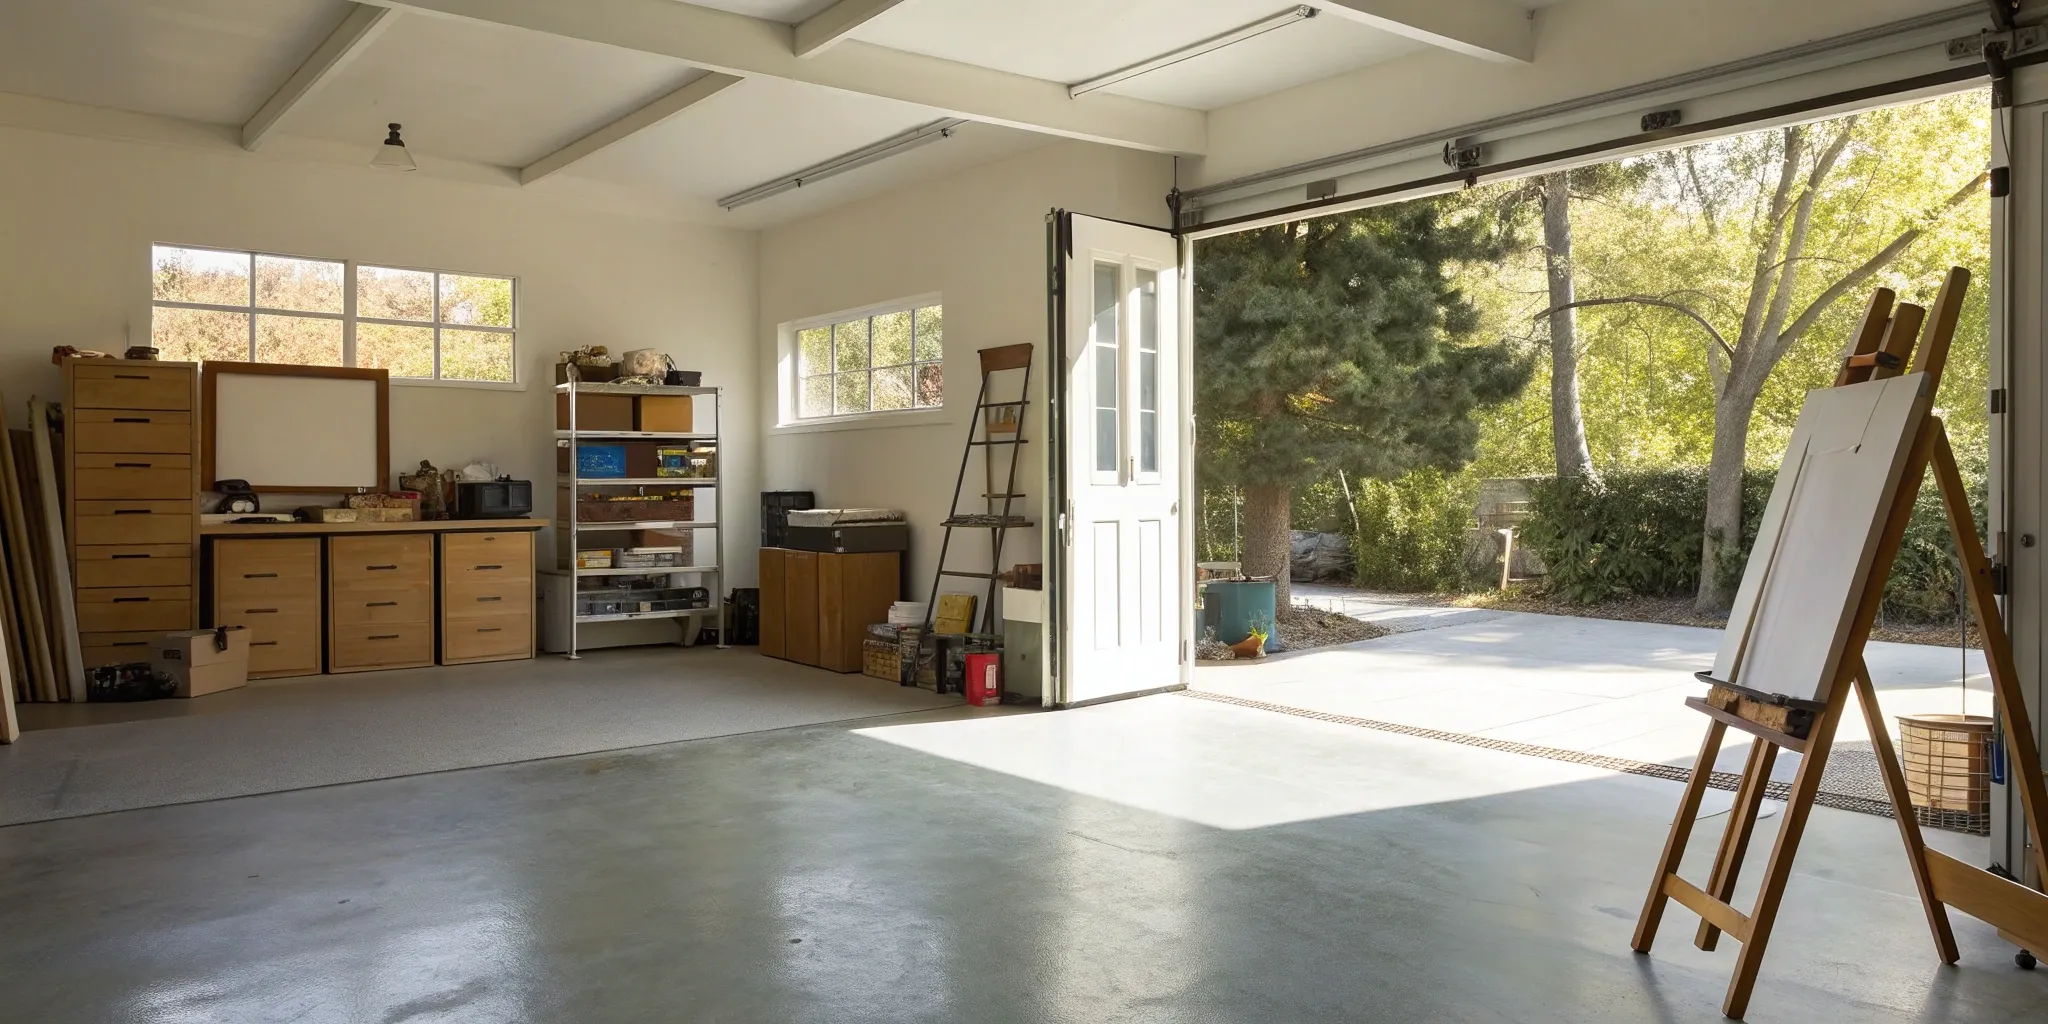
Which Tasks Can You DIY to Save Money?
Rolling up your sleeves and tackling some of the work yourself is one of the best ways to lower the cost of your garage conversion. Taking on a few DIY projects can save you a significant amount on labor, but it’s important to be honest about your skills and the time you can commit. The key is to choose tasks that have a big visual impact but a low risk of going wrong. Think cosmetic upgrades, not structural changes. By focusing your energy on the right projects, you can stretch your budget further and add a personal touch to your new space. For everything else, having a plan to bring in the right experts is just as important.
Tackle painting and basic finishes
Painting is the ultimate DIY project for a reason: it’s relatively inexpensive, requires minimal tools, and completely transforms a space. A fresh coat of paint can instantly make a former garage feel like a bright, intentional room. To make the space feel larger and more open, choose a light, neutral color. Don’t skimp on the paint itself; a quality, durable formula will hold up better over time and be easier to clean. Once the walls are done, you can also try your hand at installing baseboards and trim. It’s a project that requires patience and precision, but it gives the room a polished, finished look that truly separates it from its garage origins.
Install simple flooring
The cold, hard concrete of a garage floor needs an upgrade to feel like a comfortable living space, and many modern flooring options are surprisingly DIY-friendly. Interlocking luxury vinyl plank (LVP) or laminate flooring are fantastic choices because they click together without needing glue, making installation straightforward. They float over the existing concrete, which can hide minor imperfections. Another option is an epoxy floor coating, which creates a seamless, durable, and easy-to-clean surface. Whichever you choose, the most critical step is preparation. You’ll need to thoroughly clean, and possibly seal, the concrete before you begin to ensure your new floor lasts.
Try basic carpentry and shelving
If you’re comfortable with a saw and a drill, some basic carpentry can add major function to your converted garage. Storage is often a top priority, and building your own shelves is a perfect weekend project. You can design custom open shelving to fit a specific nook or build simple storage units to keep things organized. This is a great way to get exactly what you need for the space without paying for custom cabinetry. Start with a clear plan and precise measurements. A simple, well-built set of shelves not only provides practical storage but also adds character and a sense of accomplishment to your new room.
Know when to call a pro
Knowing your limits is the most important part of any DIY strategy. While painting and shelving are fair game, you should always leave complex systems to licensed professionals. Electrical wiring, plumbing, and any structural modifications are not the places to try and save a few dollars. These jobs require specialized knowledge to be done safely and up to code. A mistake here could lead to dangerous situations or costly repairs down the road. This is where having a trusted partner makes all the difference. Realm can help you find vetted contractors for the critical tasks that require an expert, ensuring your conversion is both beautiful and safe.
Plan Your Essential Systems: HVAC, Electrical, and Plumbing
Now for the behind-the-scenes heroes of your new space: heating, power, and water. Getting these essential systems right is non-negotiable for a safe and comfortable garage conversion. While it’s tempting to focus on paint colors and flooring, planning your HVAC, electrical, and plumbing from the start will save you major headaches and unexpected costs down the road. This is one area where calling in the pros is always the right move, and a Realm advisor can help you find vetted professionals for the job.
Find the right HVAC solution
Keeping your new room comfortable year-round is a top priority. Good airflow and proper insulation are key to making the space feel like a true part of your home, not a converted garage. You’ll want to see if your home’s current HVAC system can handle the extra square footage. Extending your existing ductwork is often the most affordable route. However, if your system is already at capacity, a separate, ductless mini-split unit is a fantastic and energy-efficient alternative. An HVAC contractor can help you decide which option makes the most sense for your home and budget.
Meet electrical safety codes
Your garage likely has minimal wiring—maybe one overhead light and a couple of outlets. To transform it into a living space, you’ll need a significant electrical upgrade. This means adding new circuits, outlets, switches, and lighting fixtures to handle everything from your TV to a reading lamp. Electrical work is governed by strict safety codes, which dictate things like how many outlets you need and how far apart they must be. This is definitely a job for a licensed electrician. They will ensure your new room is not only functional but also safe, preventing overloaded circuits and fire hazards. Getting the wiring done right from the start is crucial for passing your final inspection and getting your certificate of occupancy.
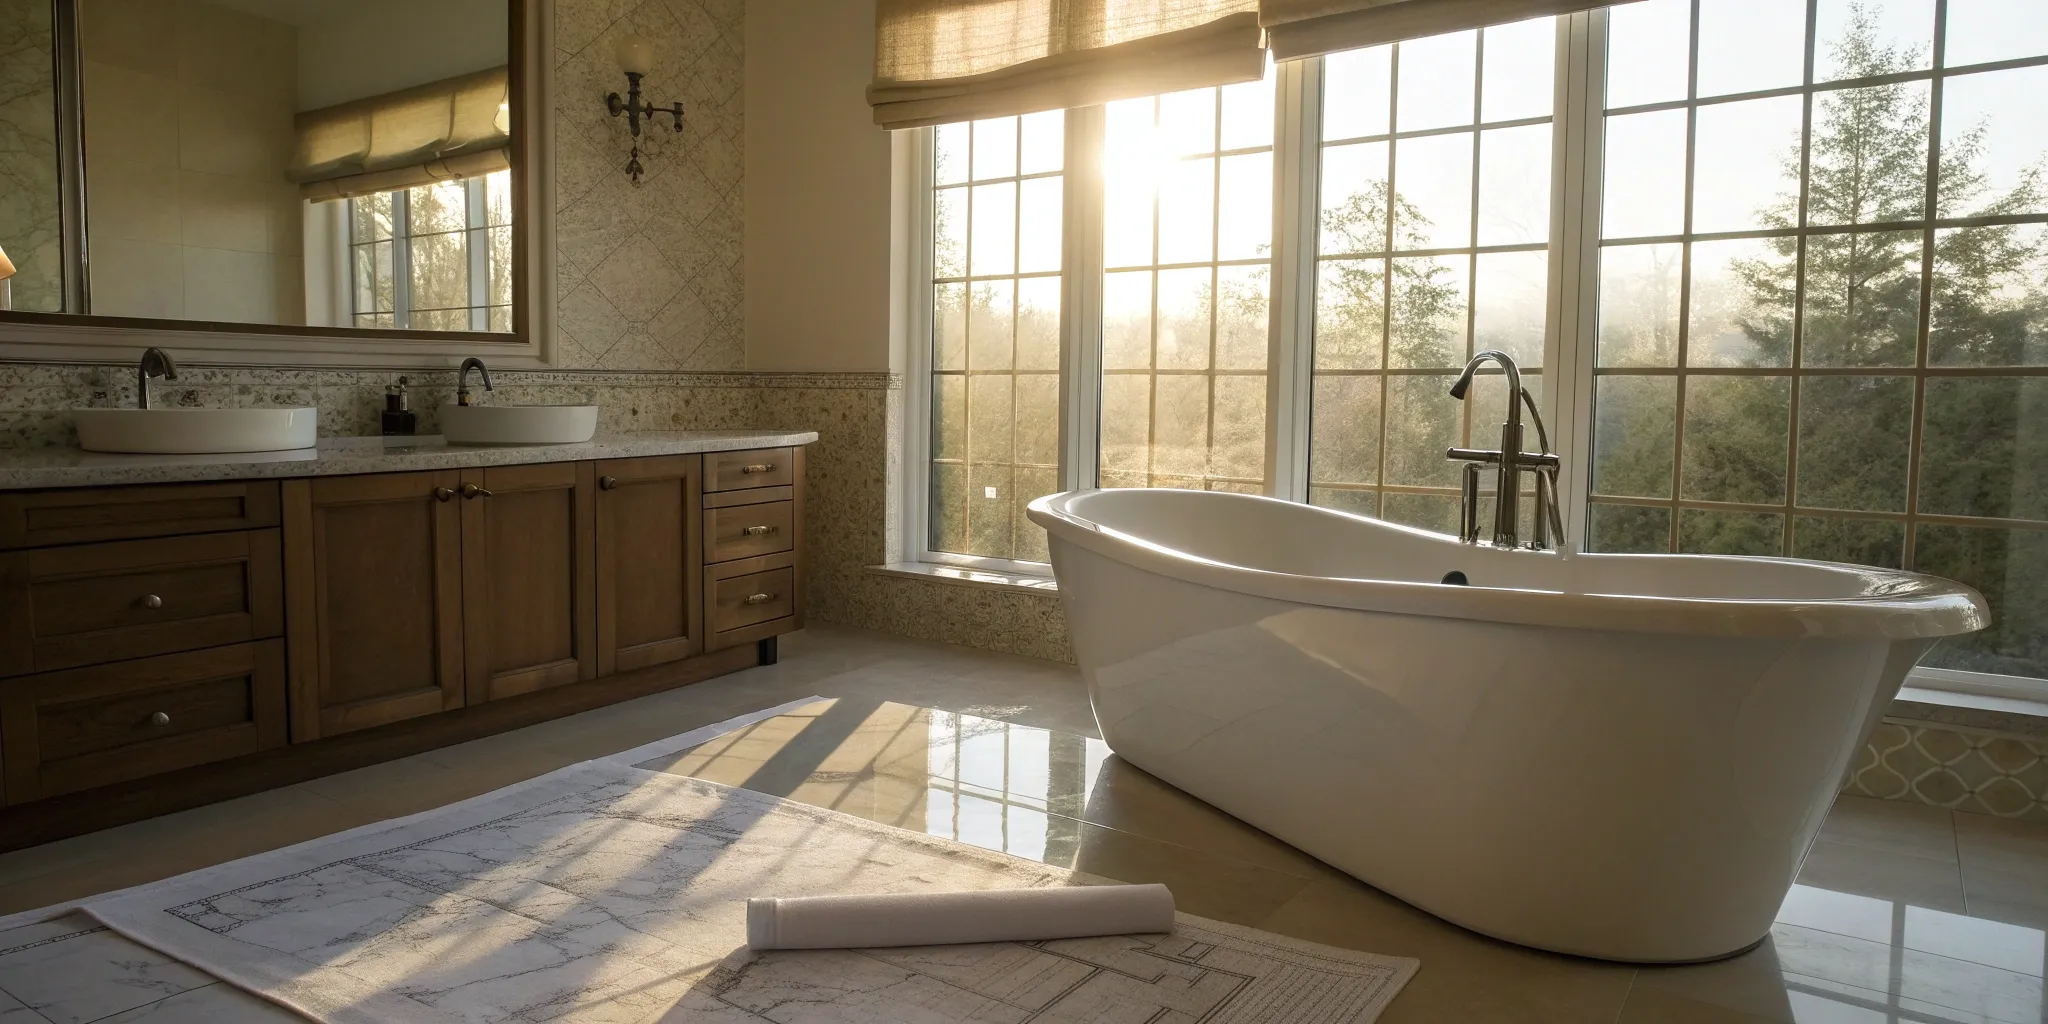
Address your plumbing needs
If your dream conversion includes a bathroom, kitchenette, or laundry area, you’ll need to plan for plumbing. This is a major step that can add a significant amount to your budget, so it’s important to think it through carefully. The cost comes from running new water supply and drain lines, which can involve cutting into your concrete slab foundation. To keep expenses down, try to locate your new bathroom or sink as close as possible to your home’s existing plumbing. This simple decision can save you thousands in labor and materials. Just like electrical work, plumbing requires a licensed professional and a separate permit to ensure everything is installed correctly and up to code.
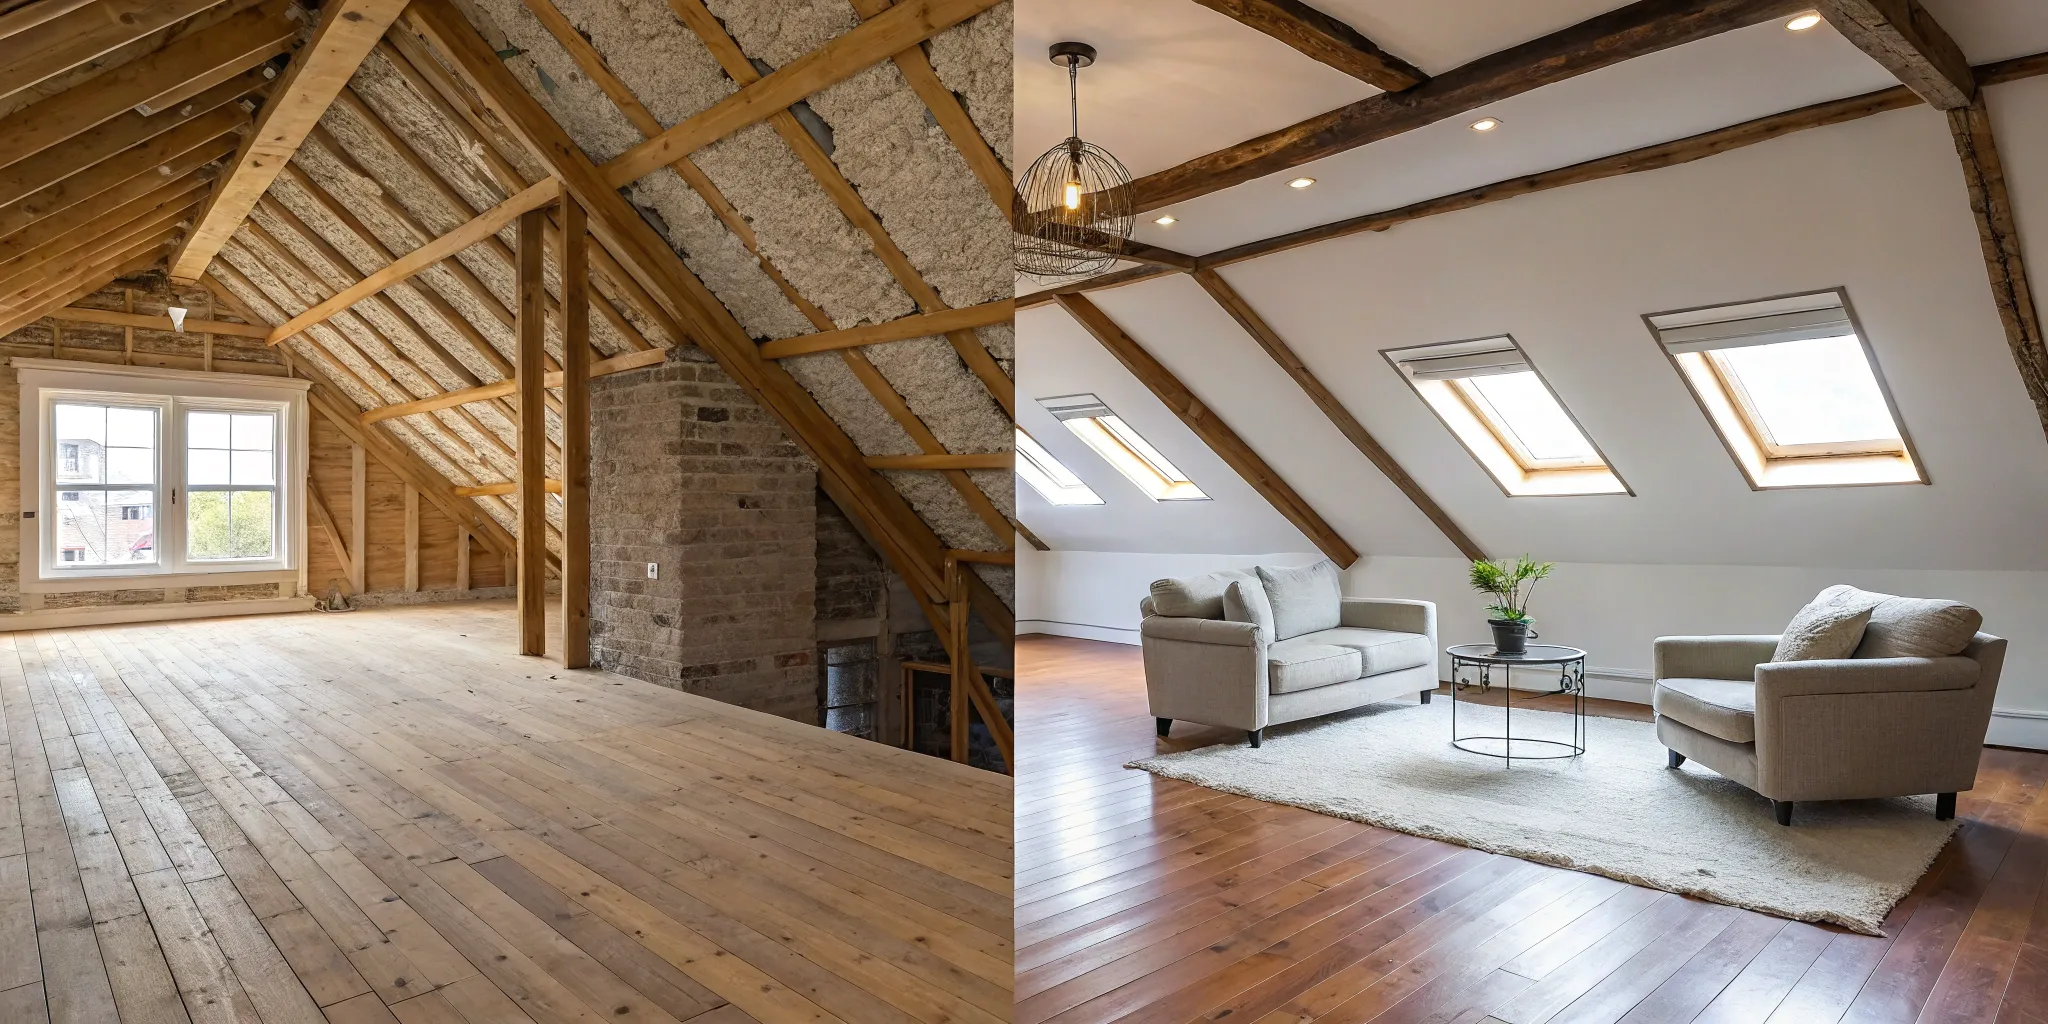
Prepare for Common Conversion Challenges
A garage conversion is an exciting project, but it’s not without its hurdles. Garages are designed to protect cars, not people, so they often lack the features of a standard living space. Thinking through these potential issues ahead of time will save you from headaches and budget blowouts down the road. By planning for these common challenges, you can create a conversion that is safe, comfortable, and built to last. Having an expert advisor to guide you through these decisions can make the entire process feel much more manageable.
Anticipate structural issues
Before you start picking out paint colors, you need to assess the structural integrity of your garage. This is arguably the most critical step, as the safety of your new space depends on it. A solid foundation is non-negotiable. Look for significant cracks in the concrete slab, signs of water damage along the walls, or a sagging roofline. While you can spot some issues yourself, a professional inspection is essential to evaluate the framing, foundation, and roof. An expert can tell you if the existing structure can support a finished living area or if it needs reinforcement to meet residential building codes.
Solve for moisture and ventilation
Garages are often damp, poorly insulated, and lack proper airflow, which can lead to mold, mildew, and an uncomfortable environment. To make the space truly livable, you’ll need to add insulation to the walls and ceiling and install a vapor barrier to block moisture from seeping through the concrete slab. Proper ventilation is also key. This might mean adding windows that open or installing an HVAC system to ensure consistent air circulation and temperature control. Addressing these elements is crucial for creating a healthy and pleasant room for your family to enjoy.
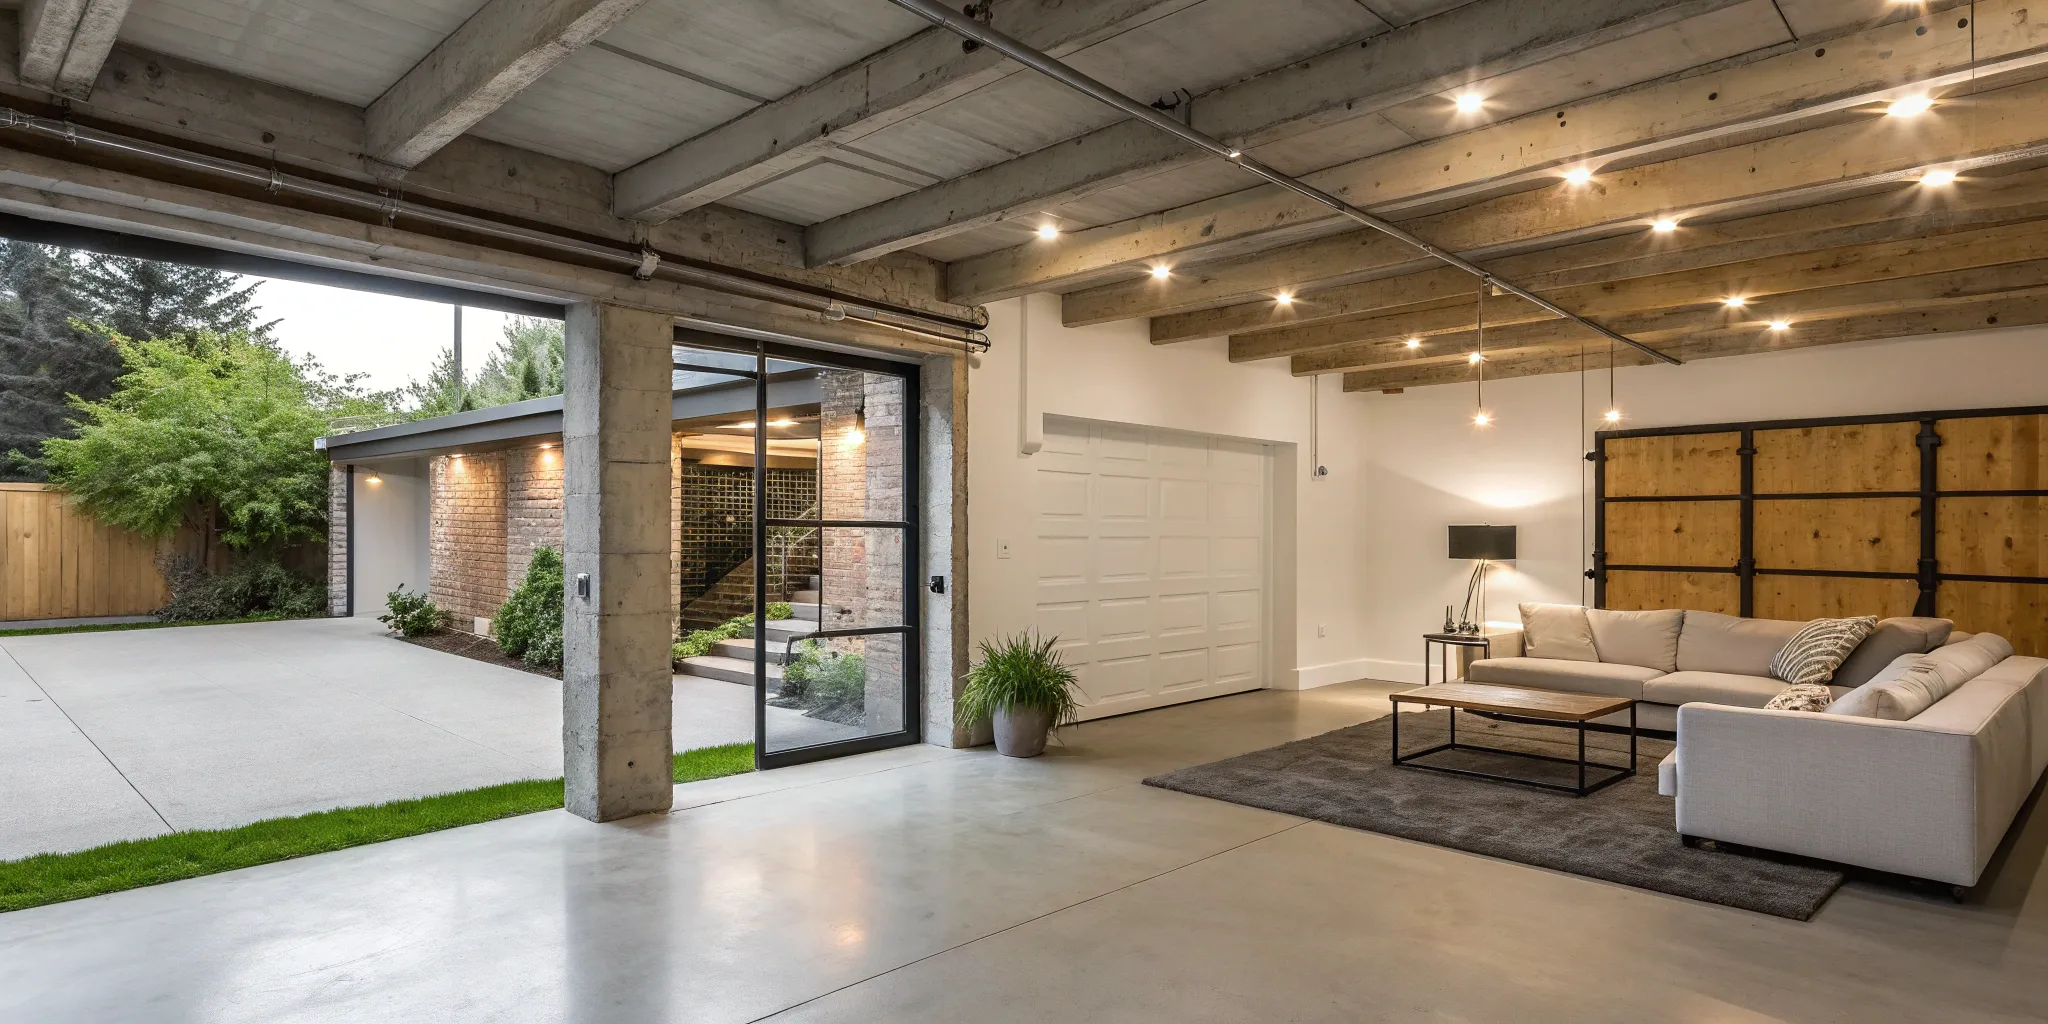
Decide what to do with the garage door
The garage door is one of the biggest decisions you'll make, as it impacts both the look and function of your new space. Your main options are to remove it entirely or to keep and conceal it. Removing the door and framing a new wall is the most common choice. This allows you to add standard windows and a regular entry door, making the room feel like a natural extension of your home. If you decide to keep the door, you’ll need to insulate it thoroughly and cover it from the inside to create a finished wall.
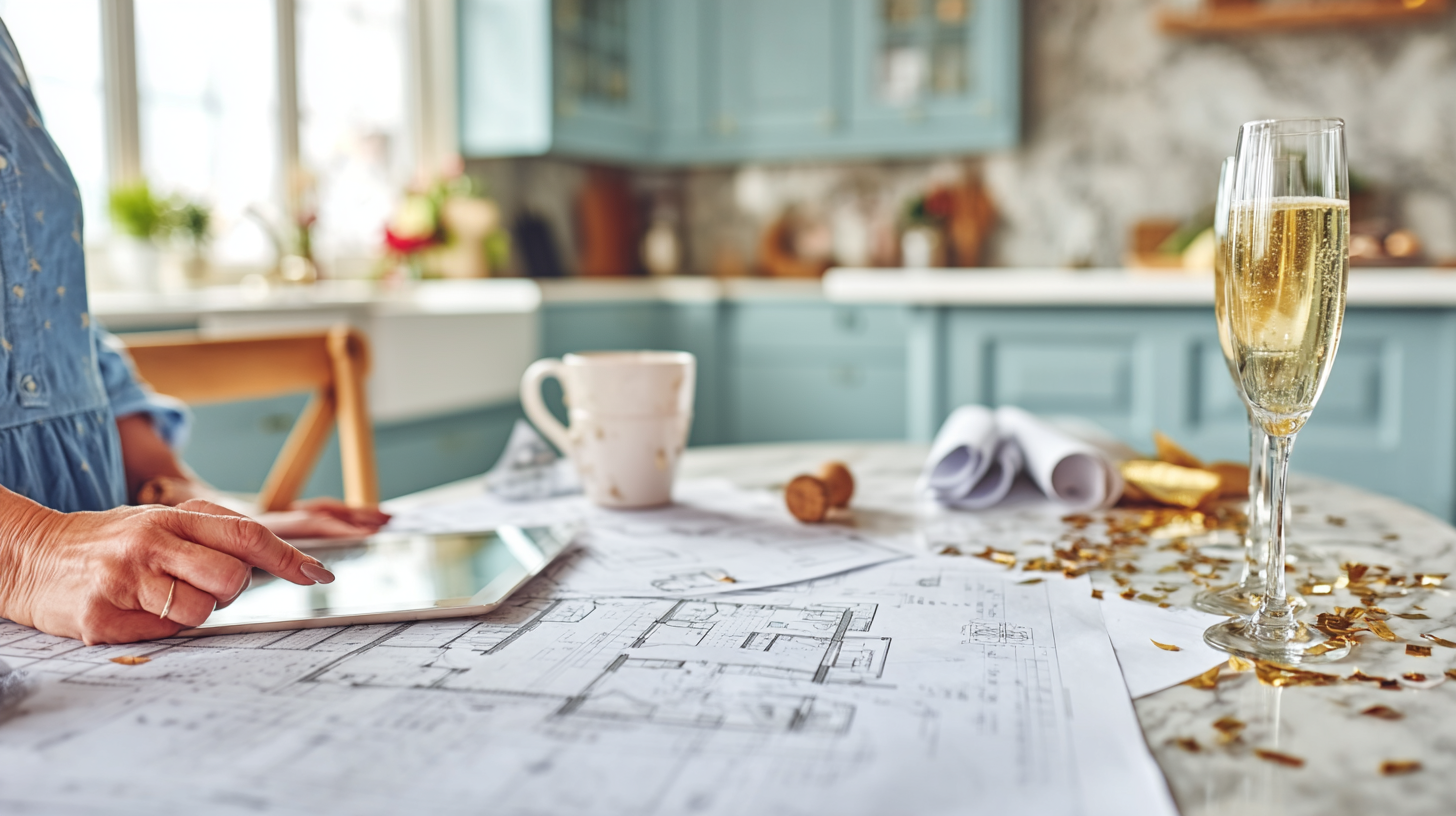
Manage your budget and timeline
Even with careful planning, home renovation projects can have surprises. It’s smart to set aside a contingency fund—typically 10% to 20% of your total budget—to cover unexpected costs that may arise, like discovering hidden water damage or needing to upgrade an electrical panel. A detailed budget is your best tool for keeping costs in check. Similarly, be realistic about your timeline. Permitting, inspections, and unforeseen repairs can add weeks to your schedule. Working with a dedicated project advisor can help you create a realistic budget and timeline from the start, ensuring you’re prepared for whatever comes your way.
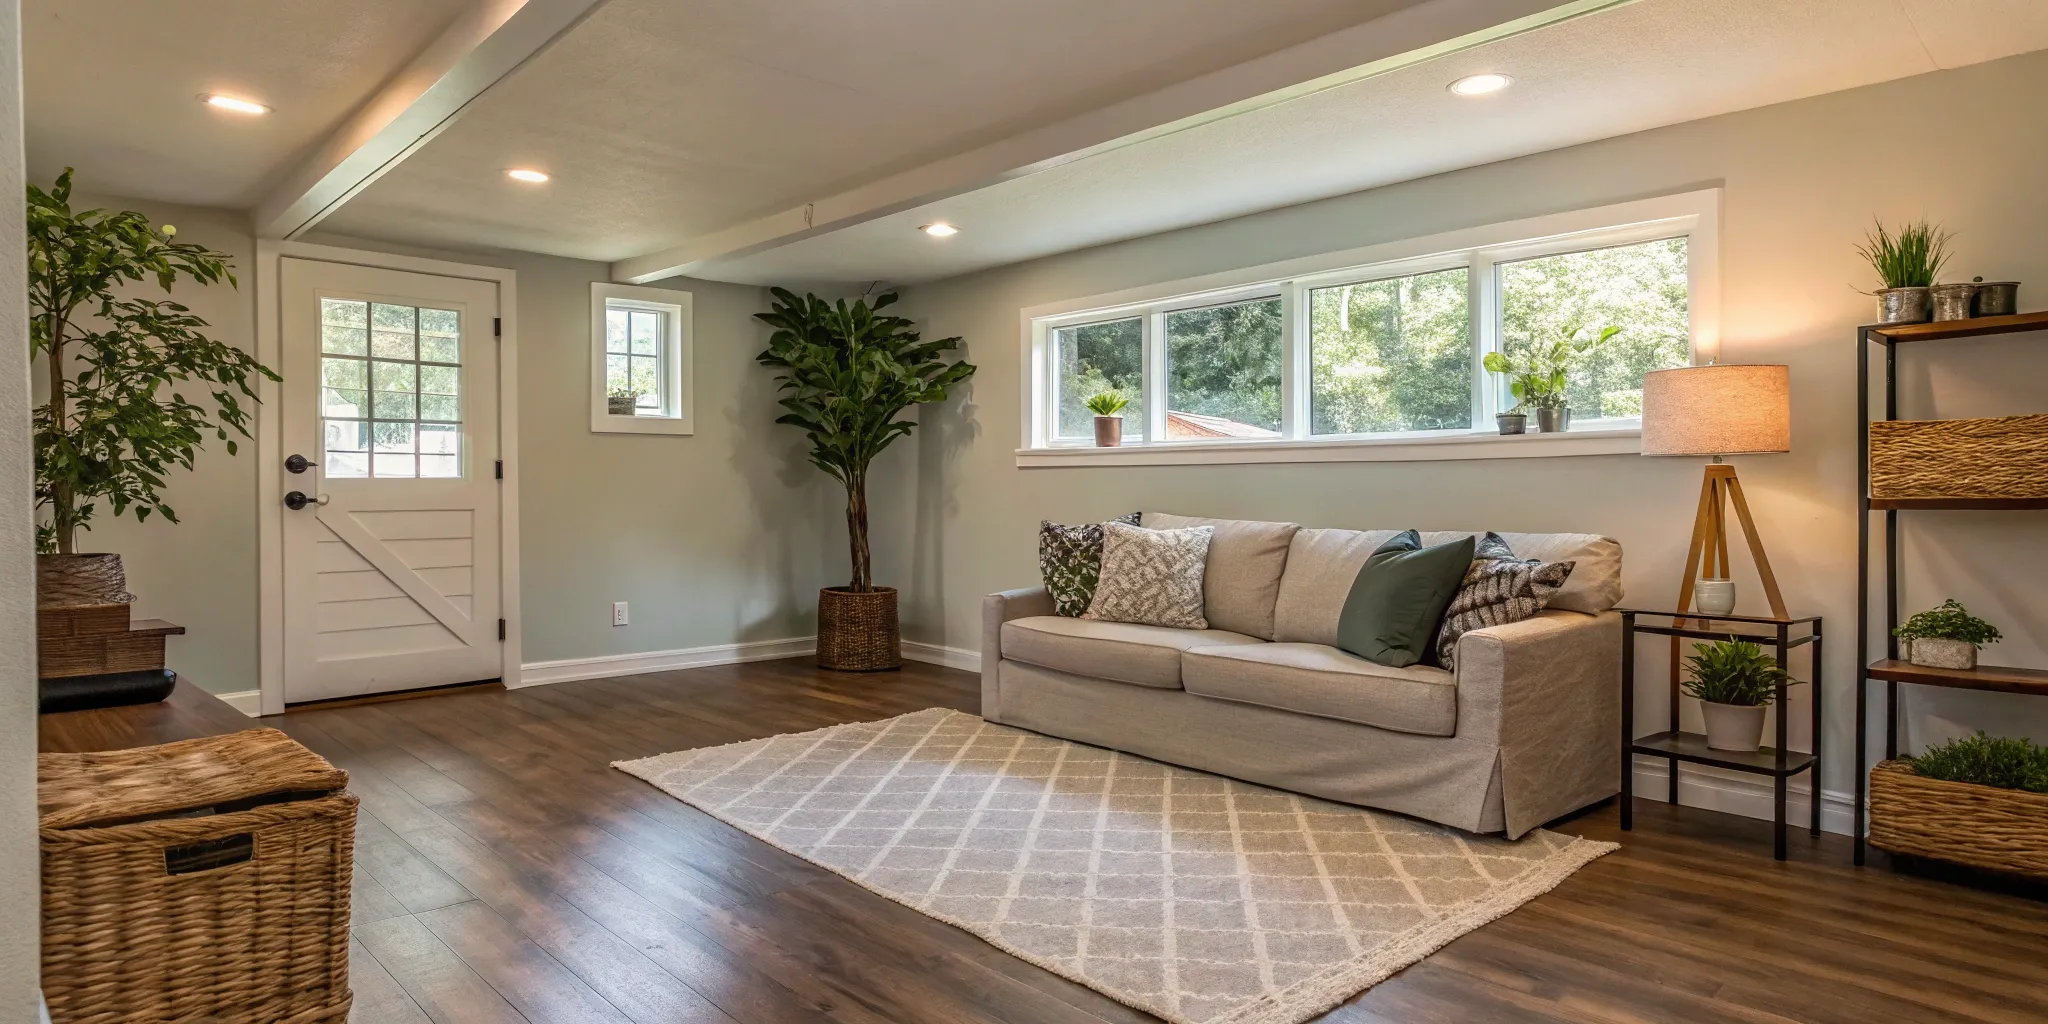
Smart Ways to Lower Your Conversion Costs
A garage conversion is one of the most cost-effective ways to add square footage to your home. With a few smart strategies, you can stretch your budget even further without cutting corners on quality. Here’s how to keep your costs in check.
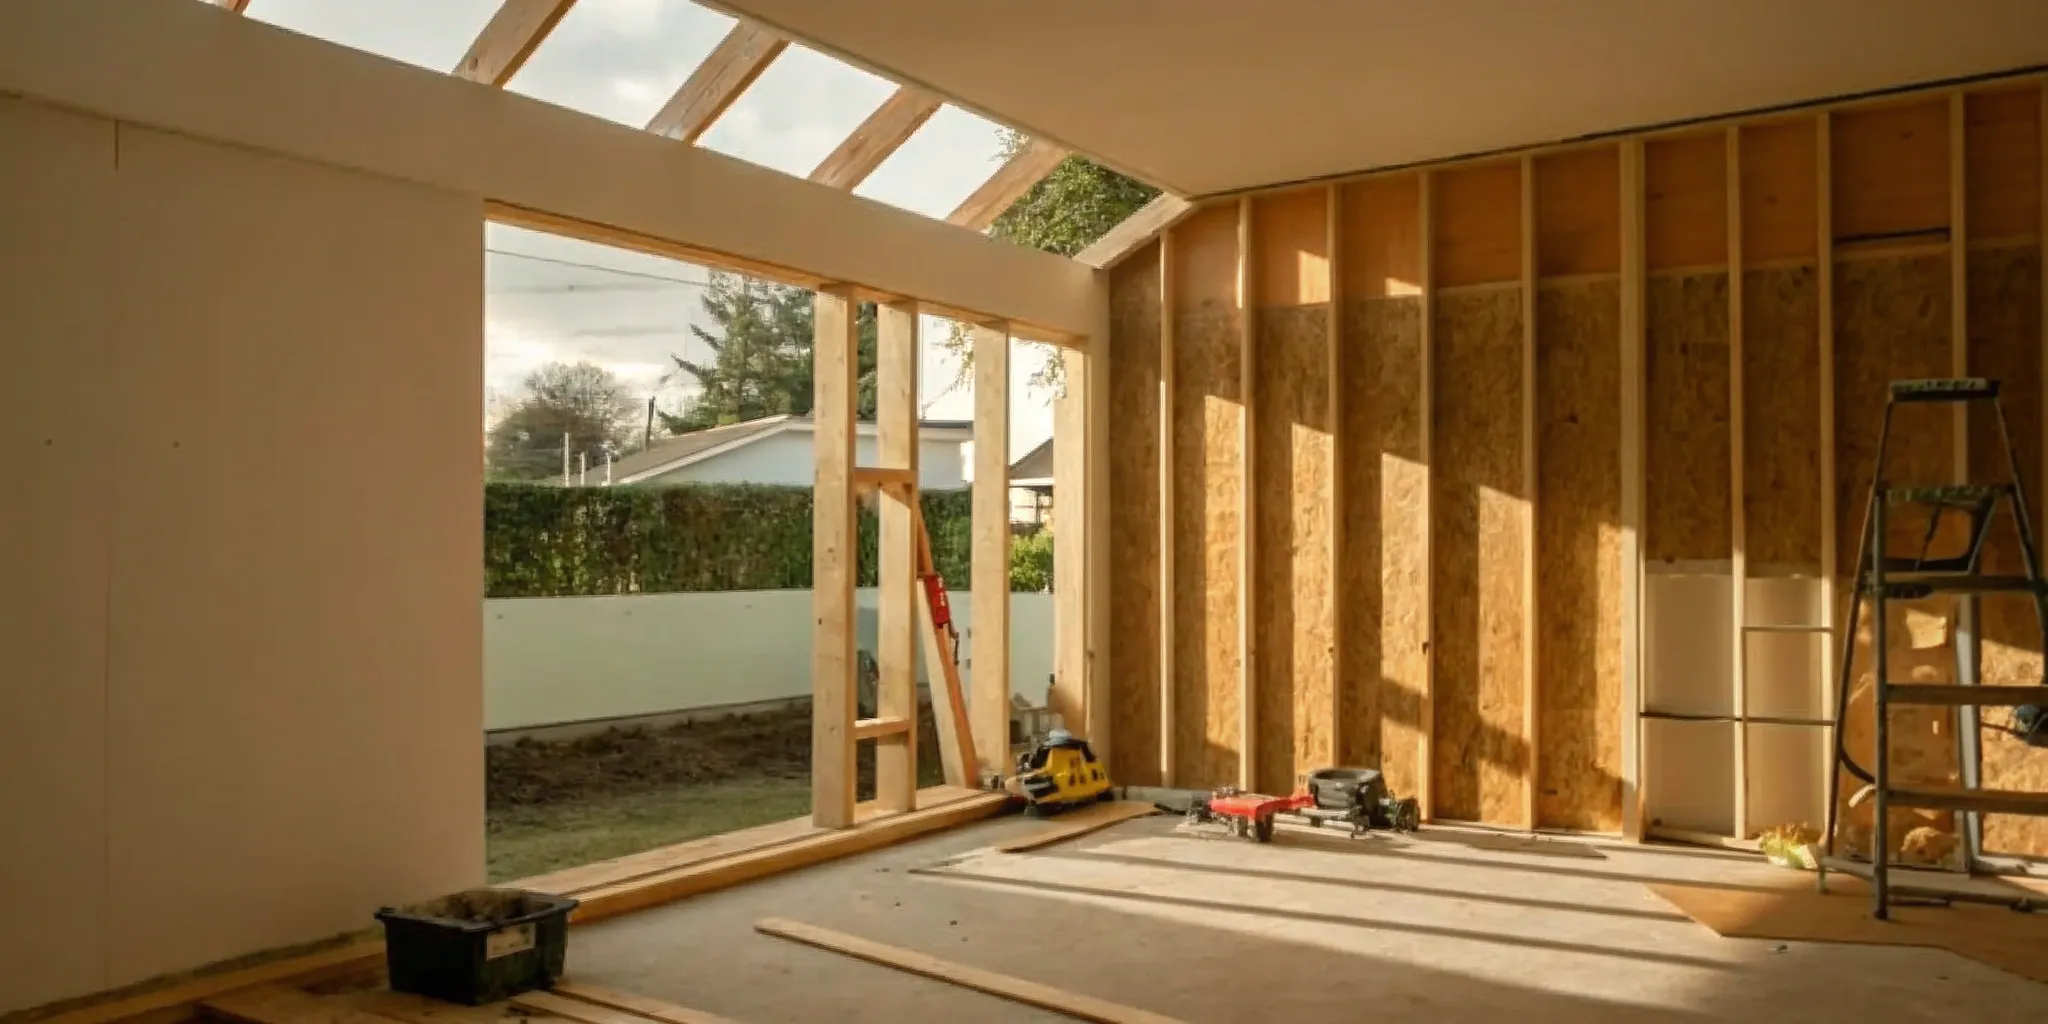
Break your project into phases
Tackling a full garage conversion all at once can be a financial marathon. To manage the cost, break the project into distinct phases. You could start with the essential structural work—framing, insulation, and drywall—to create a finished shell. Then, pause to save up for the next phase, like running electrical and plumbing. The final phase can cover all the finishes, like flooring and paint. This approach makes the project more financially manageable and gives you breathing room to make thoughtful decisions.
Shop smart for materials
The materials you choose have a huge impact on your budget. Shopping smart means finding the best value, not just the lowest price. Look for sales, explore salvage yards for unique finds, and consider reclaimed wood for accent walls. For things like insulation, planning ahead lets you compare prices and buy when you find a deal. You can also mix high and low-cost materials—invest in durable flooring but save on light fixtures that can be easily upgraded later.
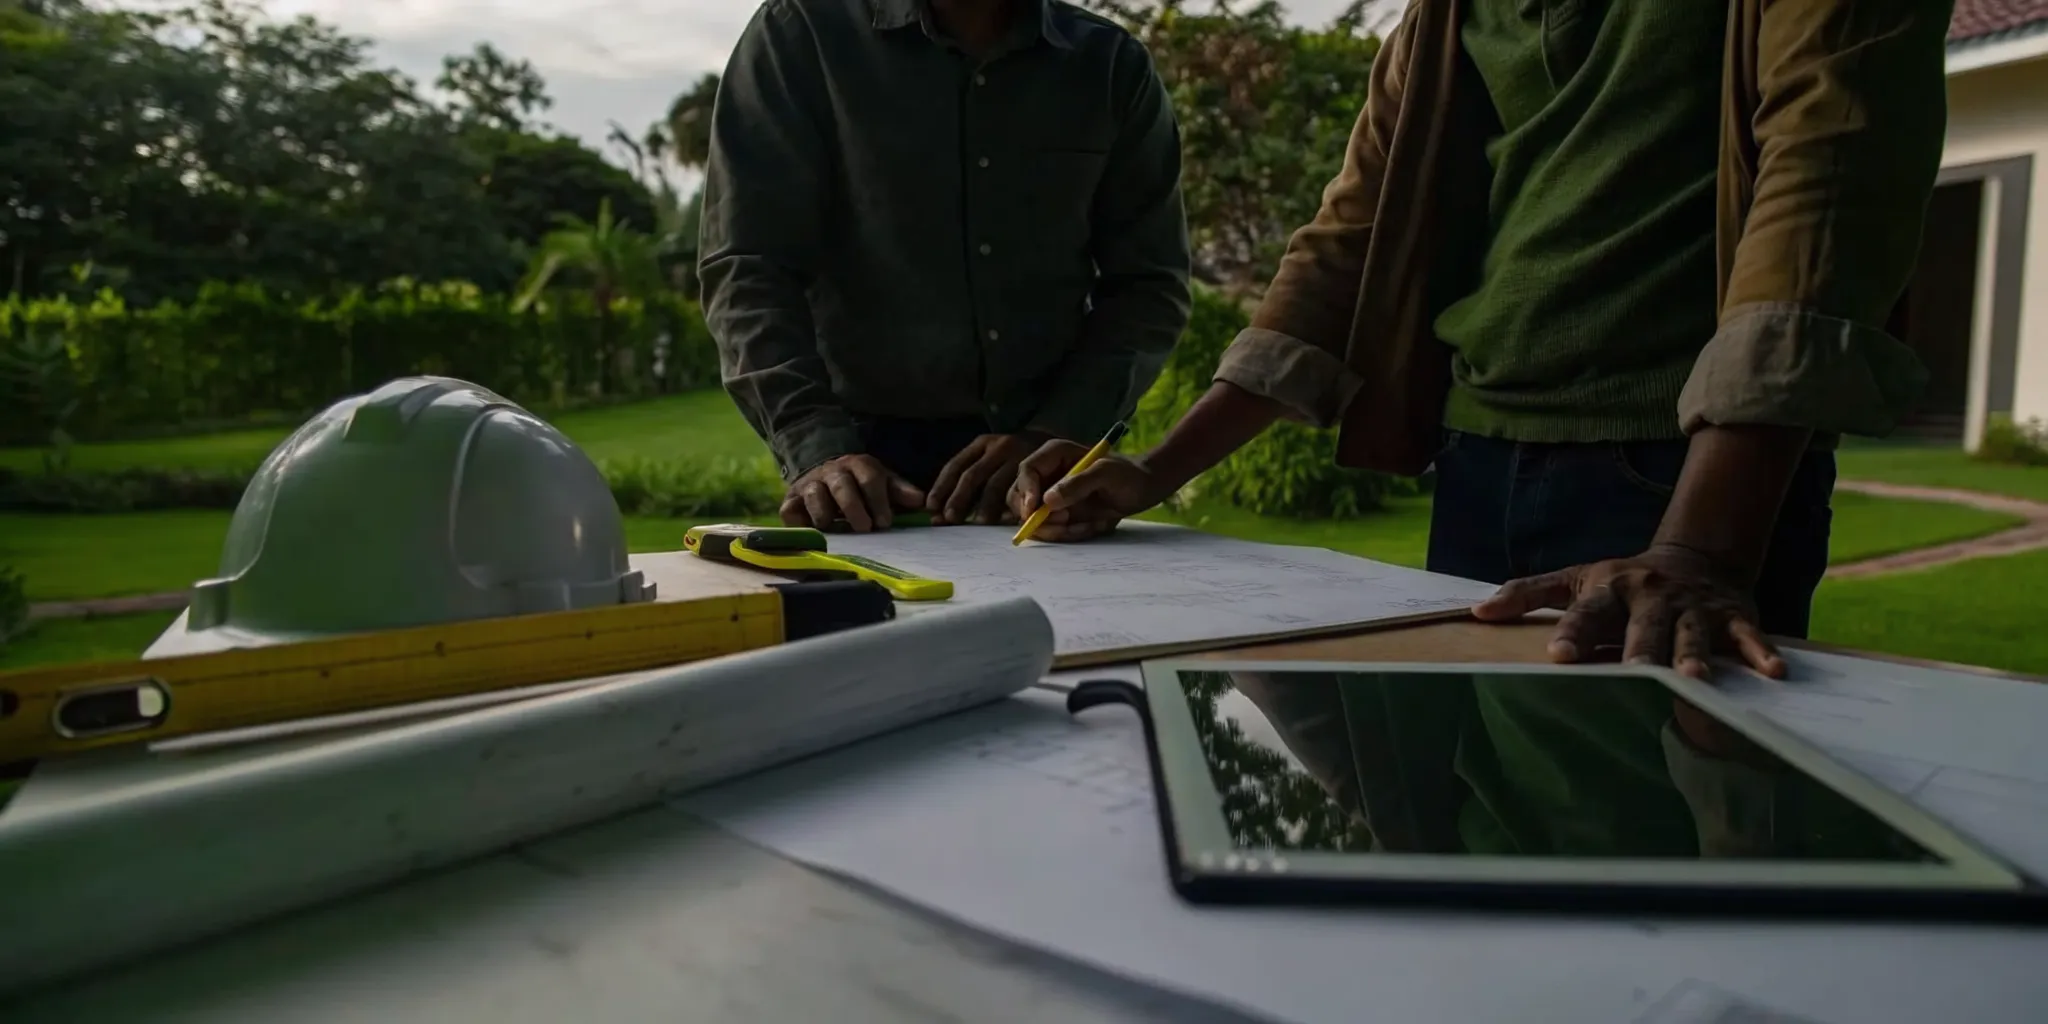
Work effectively with your contractor
A great contractor is key to keeping your project on time and on budget. They can prevent expensive mistakes and suggest cost-saving alternatives. Before hiring, get at least three detailed bids. Check their references, review past work, and ensure they’re licensed and insured. A clear contract outlining the scope, timeline, and payment schedule is essential. This is where having a dedicated advisor can make a world of difference, ensuring everything runs smoothly from start to finish.
Repurpose existing garage features
Before you start demoing, see what you can repurpose. Instead of removing the garage door and building a new wall, you could insulate the existing door and cover the interior side to blend in. That concrete slab floor? It can be polished, stained, or sealed for a modern look at a fraction of the cost of new flooring. Even existing shelving can be integrated into your new design with a fresh coat of paint. Thinking creatively about what you already have is a fantastic way to save money and reduce waste.
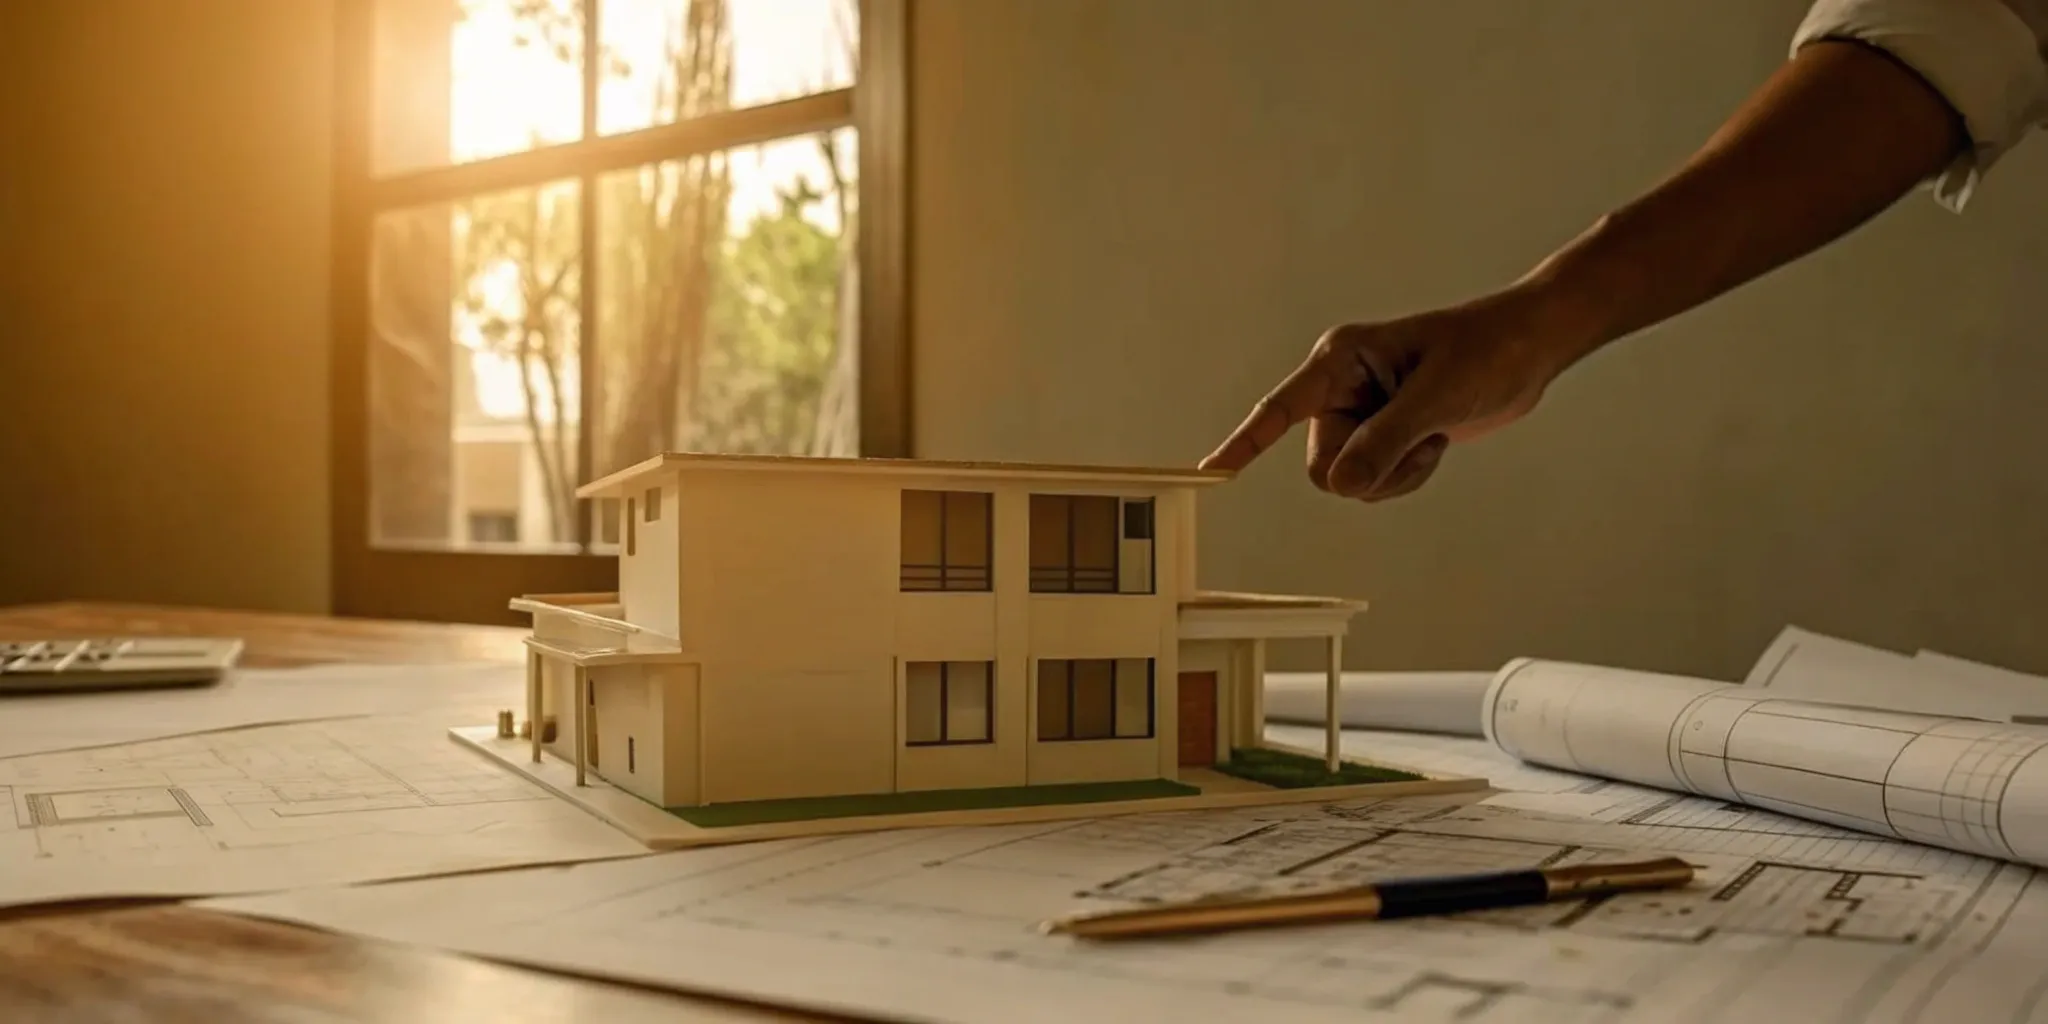
How Much Does a Garage Conversion Really Cost?
Talking about money can be the most stressful part of any renovation, but going in with a clear understanding of the costs is the best way to stay in control. A garage conversion is one of the most affordable ways to add living space to your home, but the final price tag depends on your design, your location, and the condition of your existing garage. Let’s walk through the numbers so you can build a realistic budget and make smart decisions for your project.
Break down the typical expenses
Most garage conversions cost between $10,000 and $25,000, with the average project landing around $16,500. The good news is that this is significantly cheaper than building a new addition from the ground up because you’re using an existing structure. This budget typically covers the essentials: framing, insulation, drywall, basic electrical and plumbing work, simple flooring, and paint. The final cost will shift based on the finishes you choose and the labor rates in your area. A more complex project with a full bathroom, high-end kitchen, or significant structural changes will naturally be more expensive.
Budget for hidden costs
Every renovation project has its surprises, and it’s wise to plan for them. Your initial quote might not cover unexpected issues that pop up once construction begins. For example, you might discover you need to upgrade your home’s main electrical panel to handle the extra load, or that new water and gas lines need to be run to the garage. That’s why you should always build a contingency fund into your budget—typically 10% to 20% of your total project cost. Having this buffer gives you peace of mind and ensures that a surprise expense won’t derail your project.
Consider your ROI and resale value
A garage conversion is a fantastic, cost-effective way to add valuable square footage to your home, which can significantly increase its resale value. However, it’s important to think about the trade-offs. In some neighborhoods, buyers expect a two-car garage for parking and storage, and losing that could be a drawback. But in high-demand areas where space is at a premium—like many cities in California and Washington—turning an underused garage into a beautiful living area, home office, or rental unit is almost always a smart financial move that pays for itself over time.
Related Articles
- Garage Conversion Ideas Bedroom: A Complete Guide
- How to Convert Your Garage Into a Living Space
- 5 Inspiring Garage to Living Space Conversion Ideas
- Inspiring Garage Conversion Ideas: Before and After
Frequently Asked Questions
How long does a typical garage conversion take? While every project is different, you can generally expect a garage conversion to take anywhere from 6 to 12 weeks from the start of construction to the final inspection. The timeline really depends on the complexity of your project, how quickly your city issues permits, and the availability of your contractors. A simple conversion into a home office will be much faster than one that involves adding a full bathroom and kitchen.
Will converting my garage hurt my home's resale value since I'm losing a parking spot? This is a great question, and the answer often comes down to your specific neighborhood. In many high-demand areas where extra living space is at a premium, a well-done, legally permitted conversion can significantly increase your home's value. The key is to create a high-quality space that feels like a natural part of the home. Buyers are often more excited about an extra bedroom, office, or family room than a place to park their car.
I'm ready to get started. What's the absolute first thing I should do? Before you do anything else, your first step is to confirm that a conversion is even allowed. A quick call or visit to your local city planning department will tell you about zoning rules and parking requirements. If you're part of an HOA, you'll need to check their guidelines, too. Getting this administrative homework done first ensures you're starting your project on solid ground.
Can I turn my garage into a separate apartment or rental unit? Yes, you absolutely can, and it's a very popular option. This type of project is typically called an Accessory Dwelling Unit (ADU), and it comes with its own specific set of building codes and permit requirements that are often more detailed than a standard room conversion. The rules for ADUs vary quite a bit between cities, so it's essential to understand your local regulations before you start planning.
What's the single biggest mistake to avoid with a garage conversion? The most critical mistake you can make is skipping the proper permits. It might seem tempting to avoid the paperwork and fees, but doing unpermitted work can lead to major problems. It can create unsafe living conditions, result in hefty fines if you're caught, and cause serious issues when you eventually try to sell your home. Getting the right permits is the foundation of a safe, legal, and valuable project.


.png)


.png)